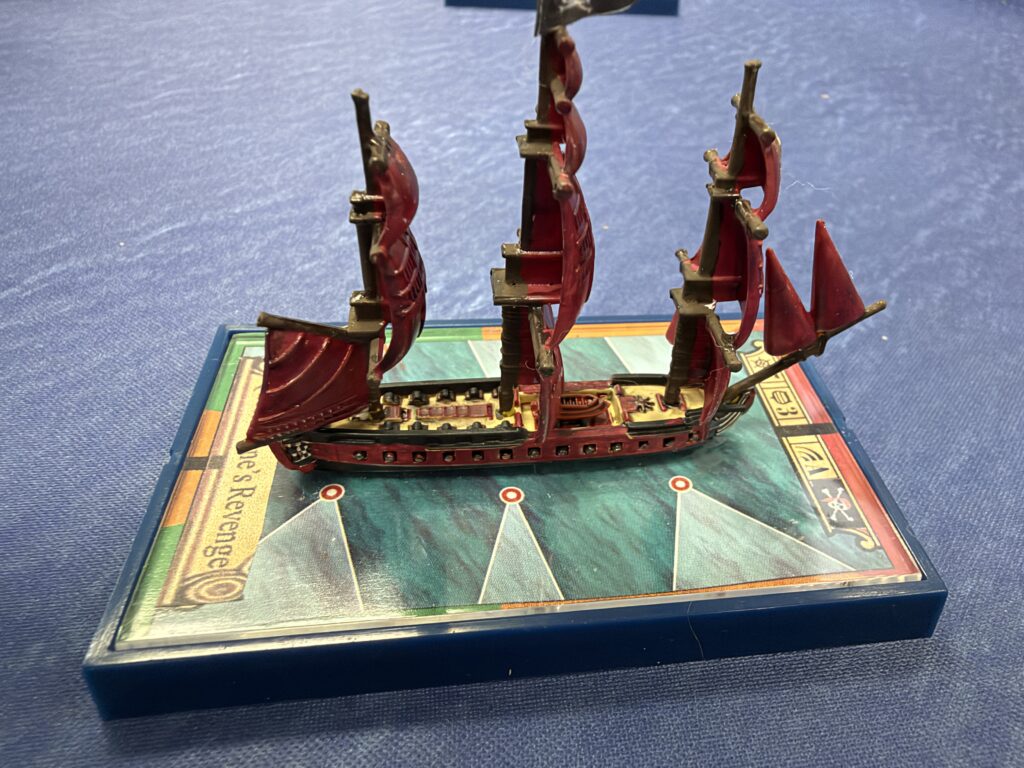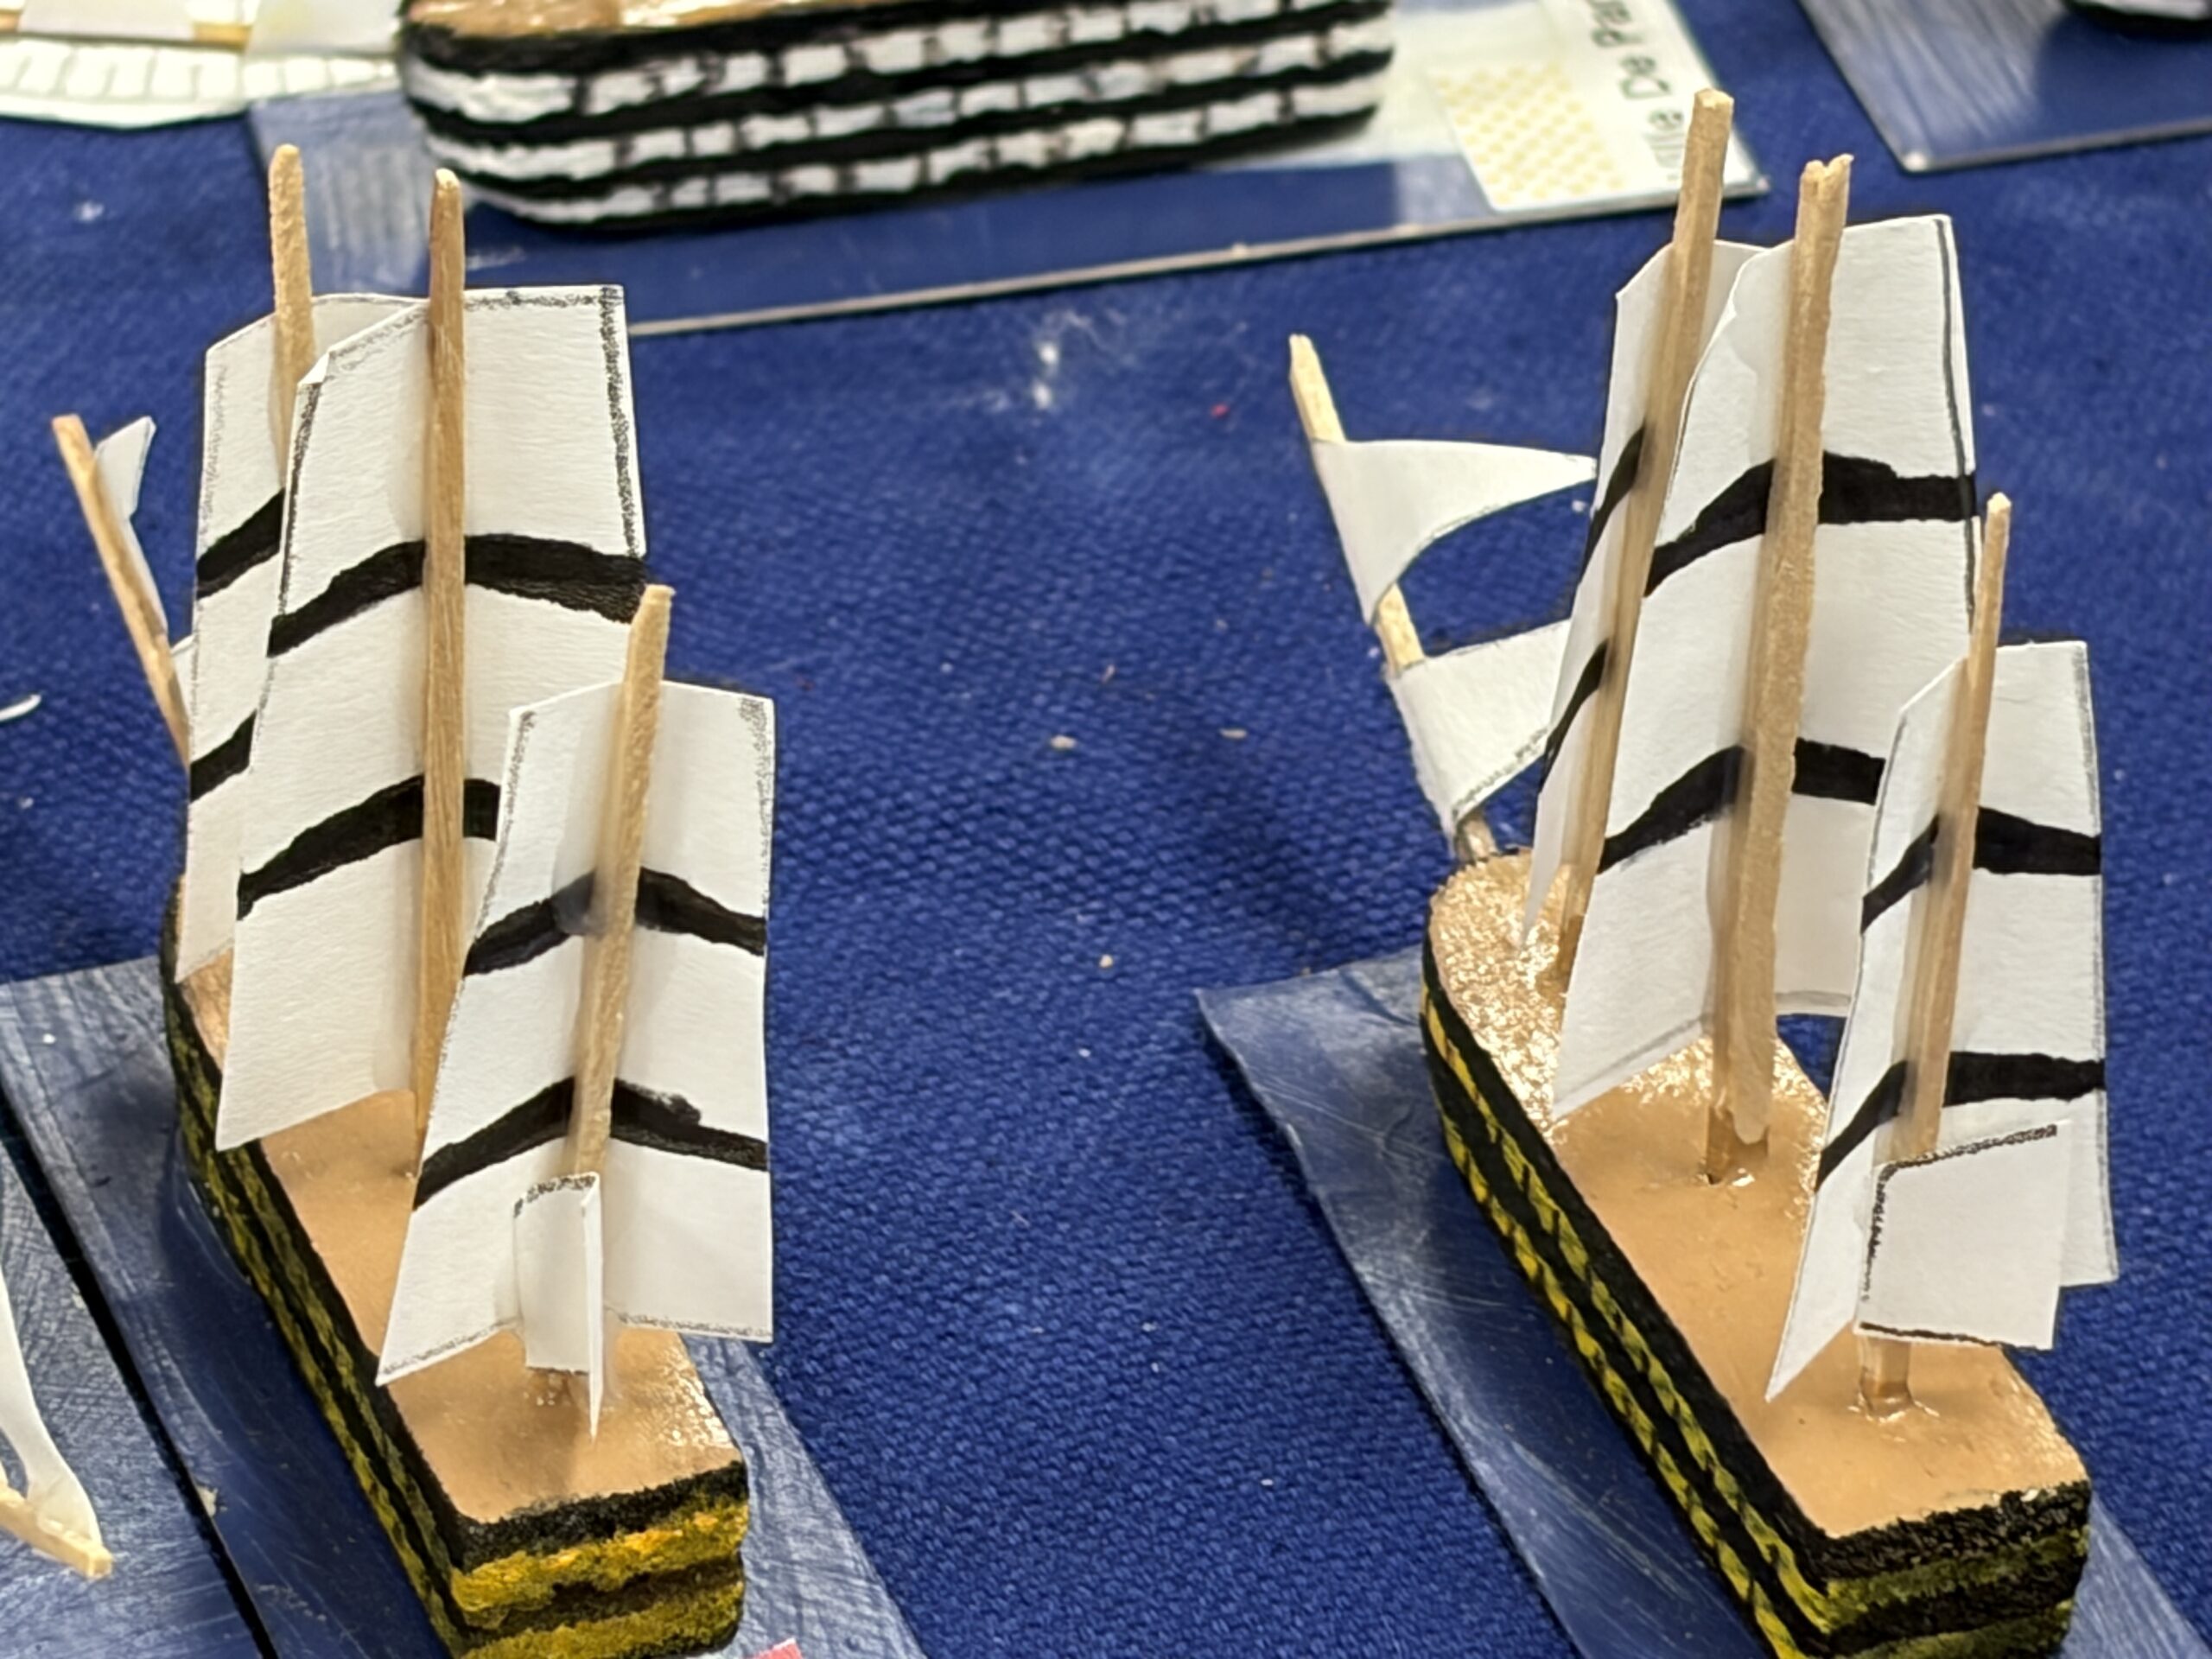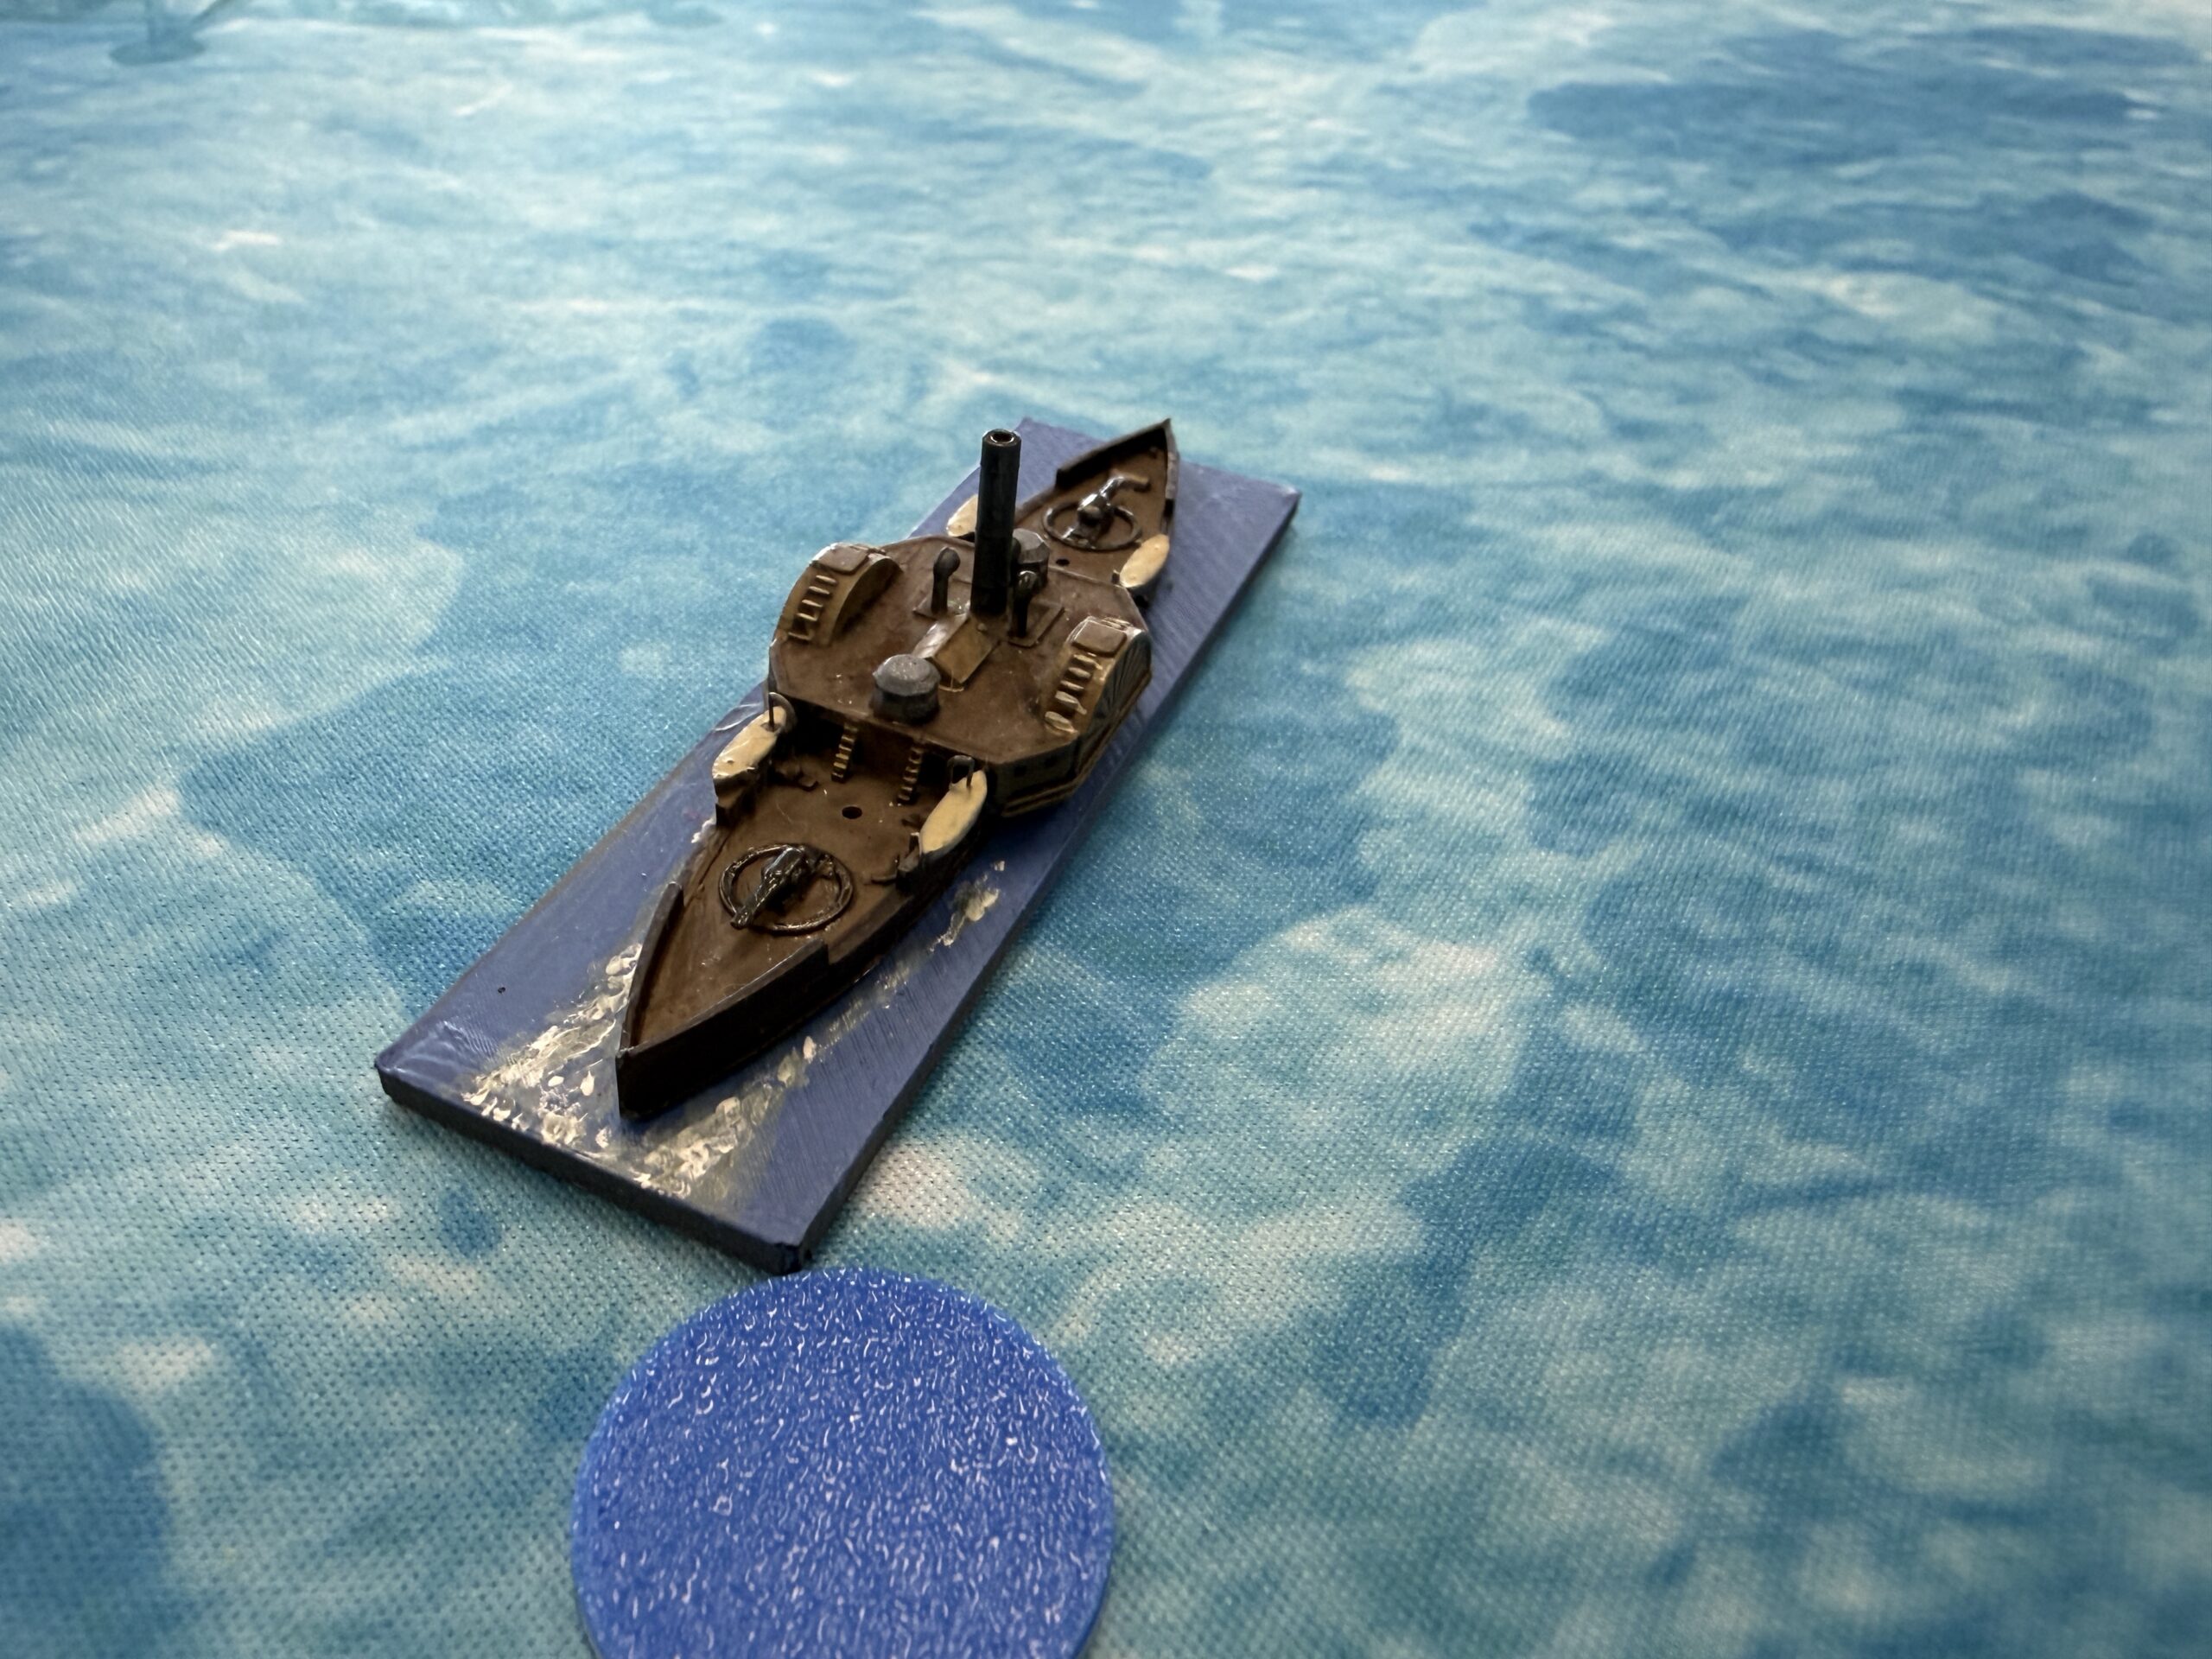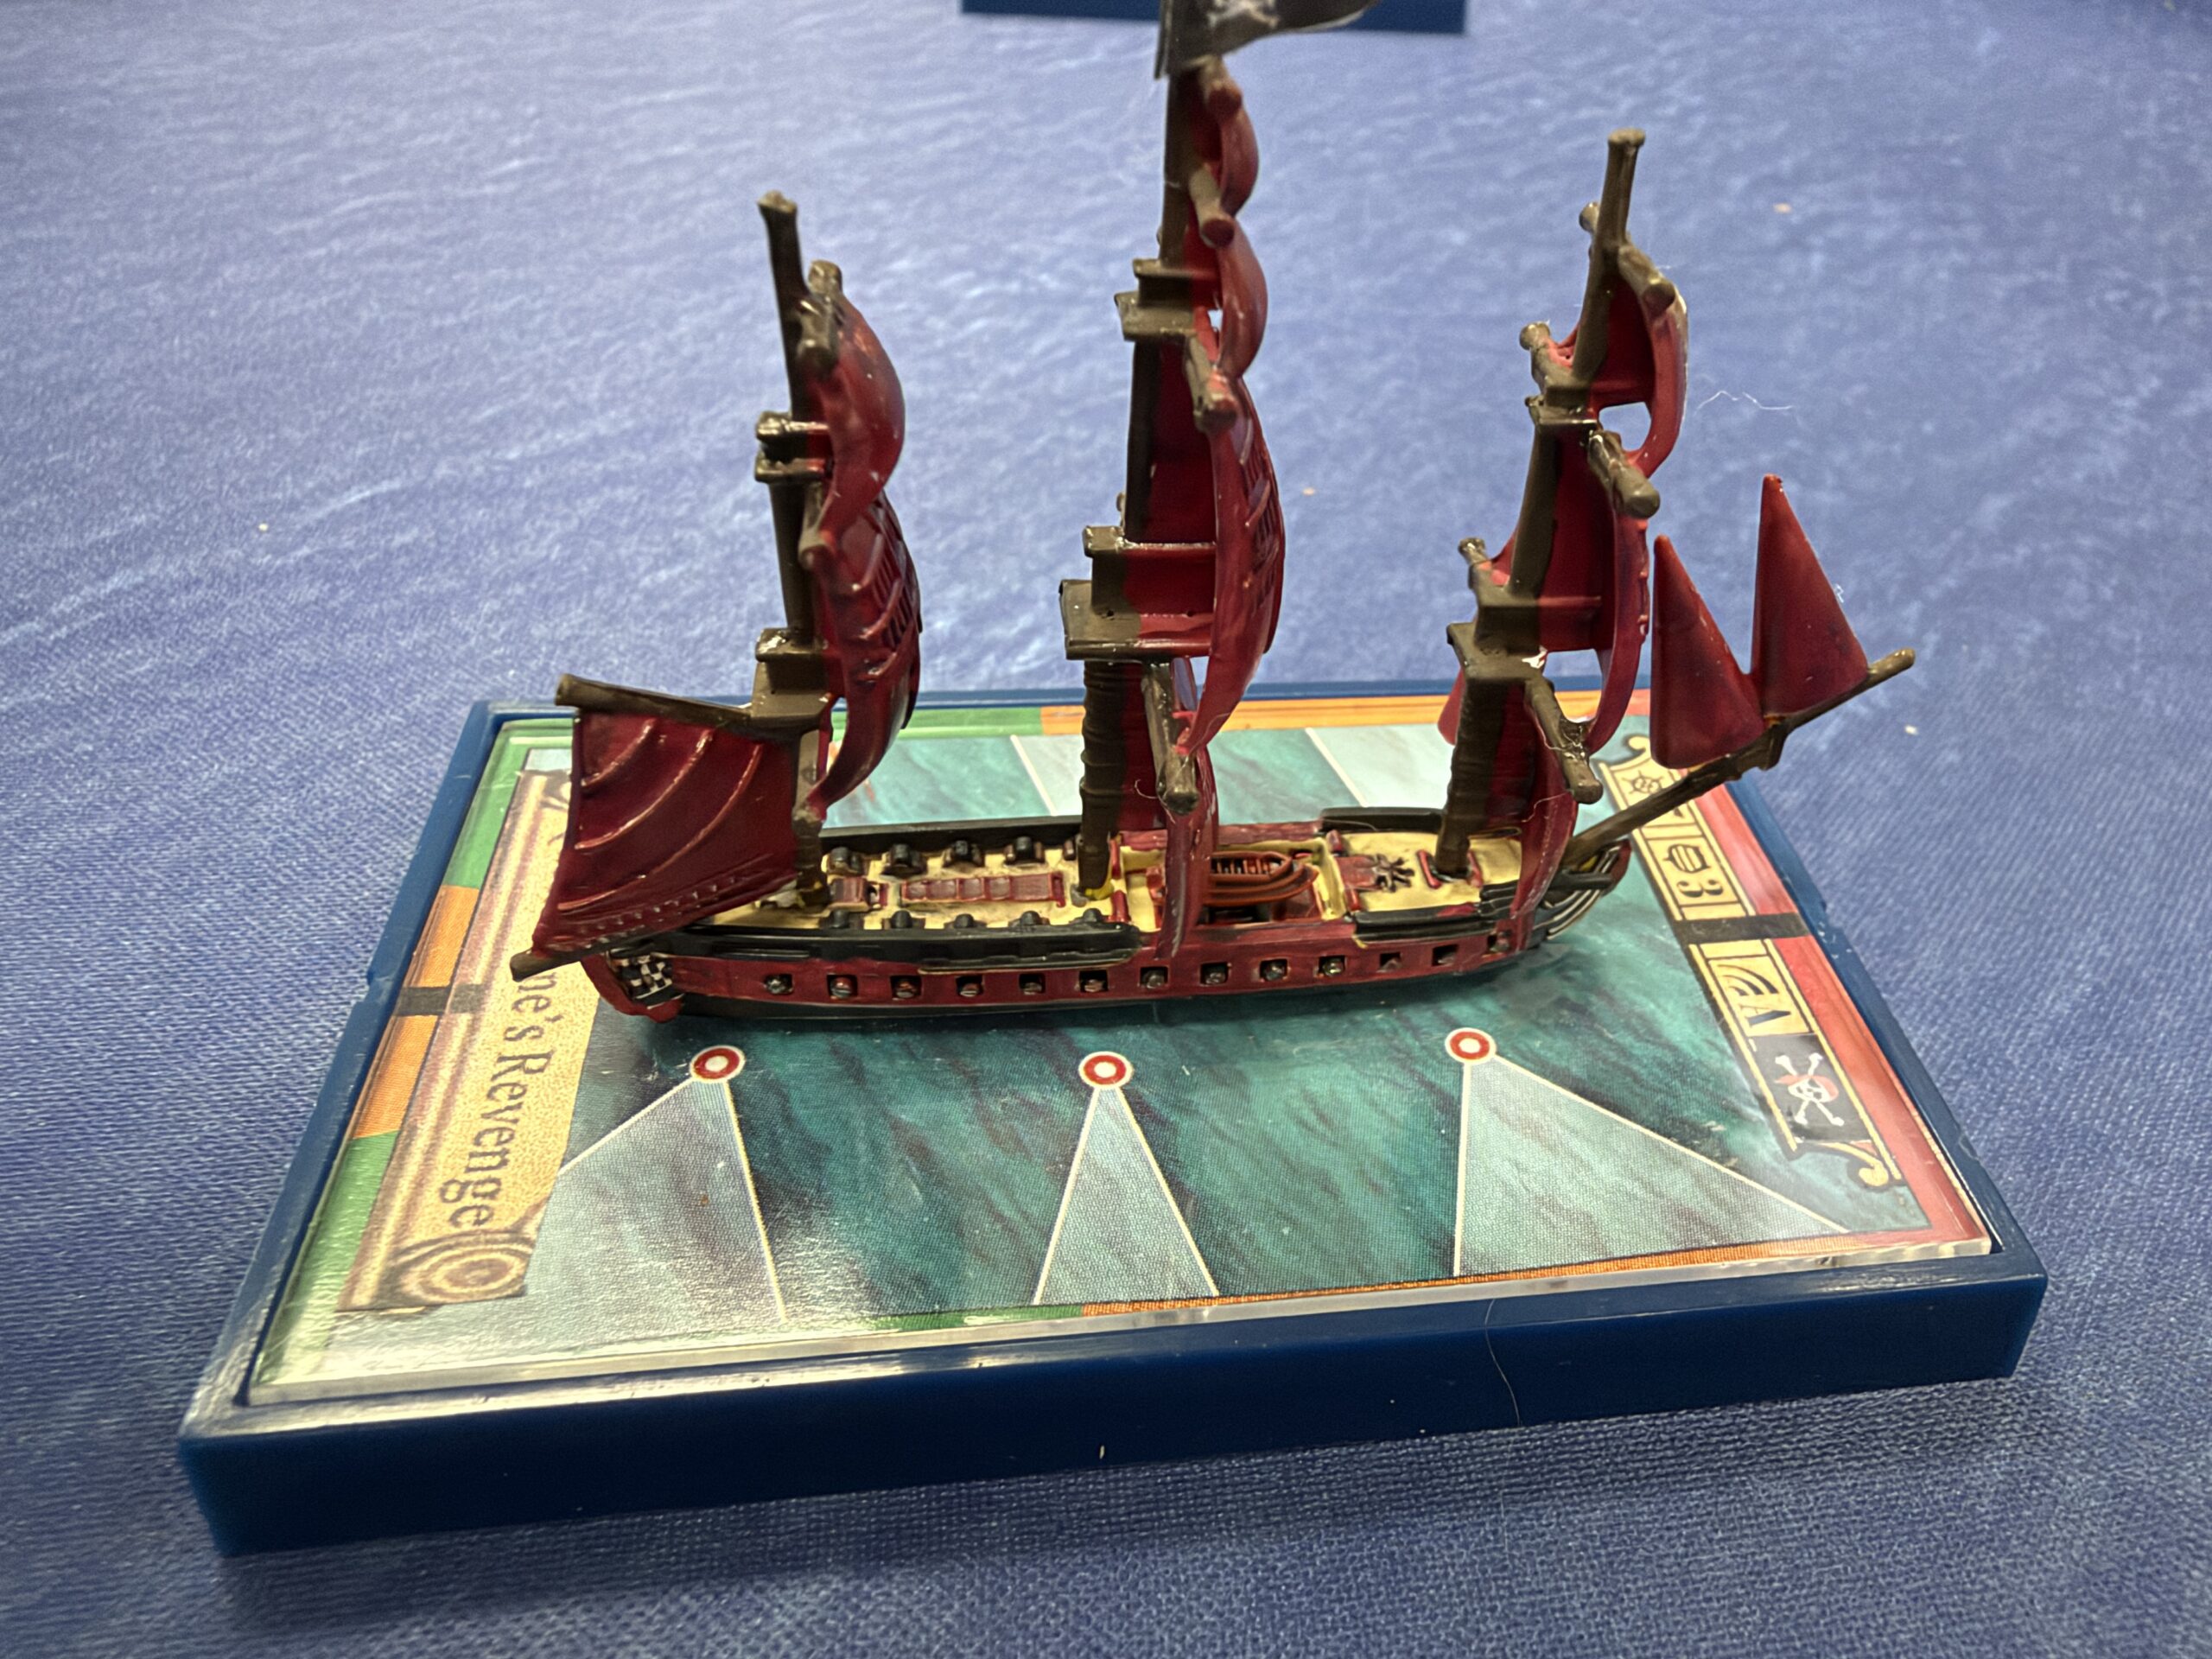
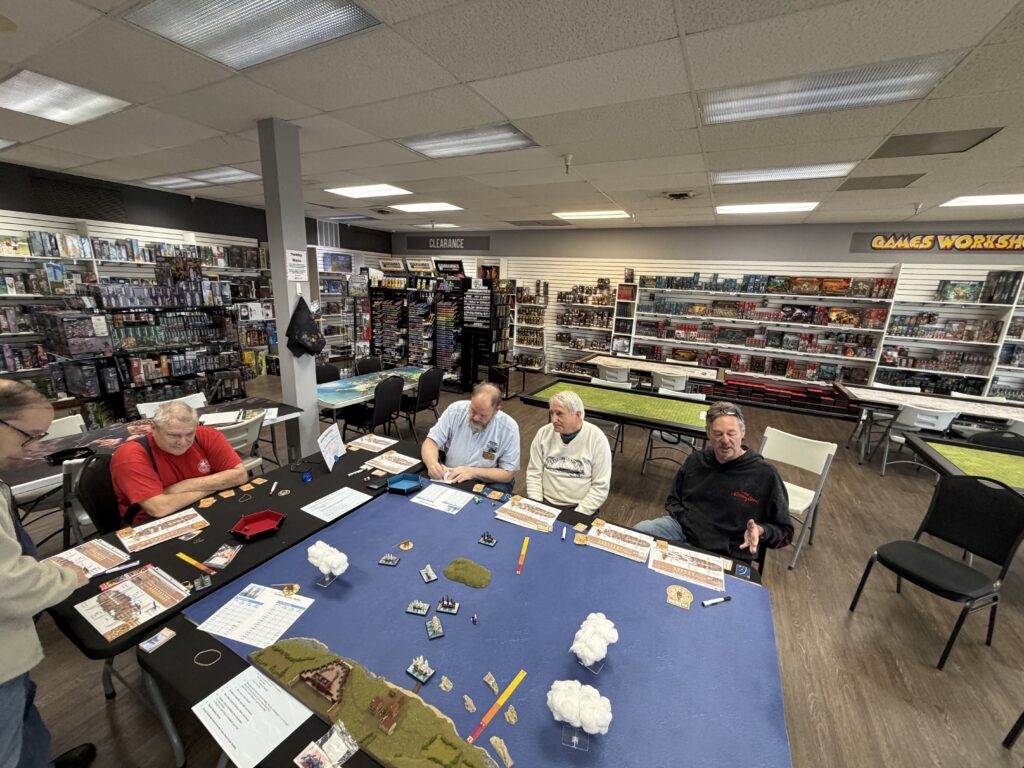
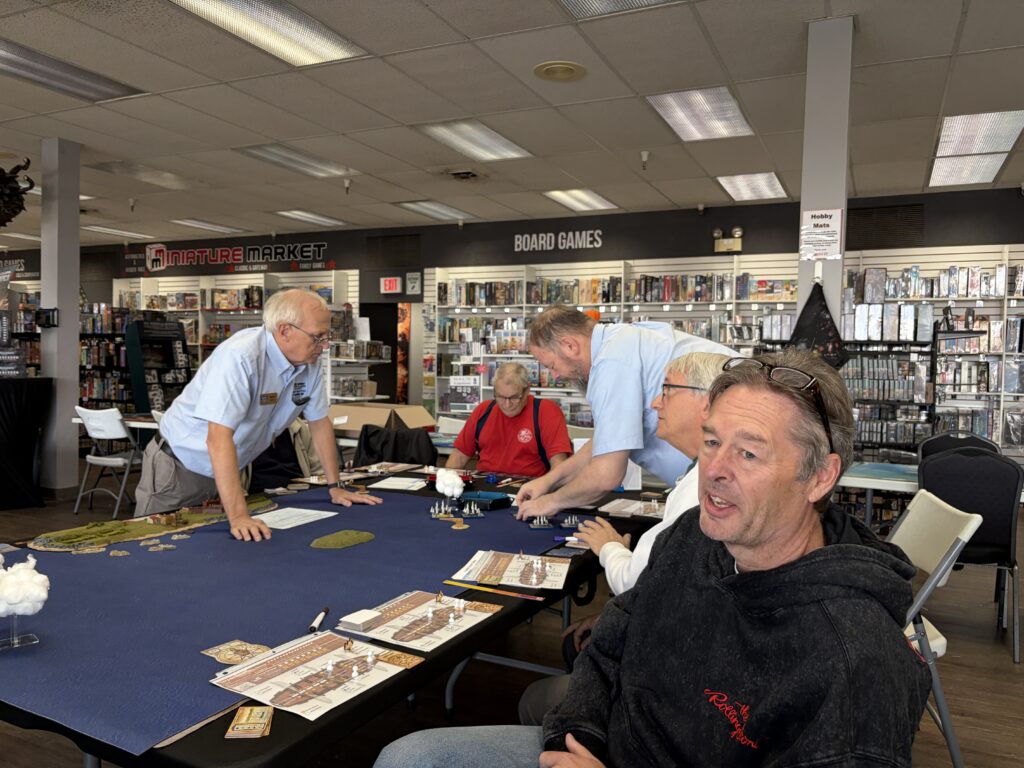
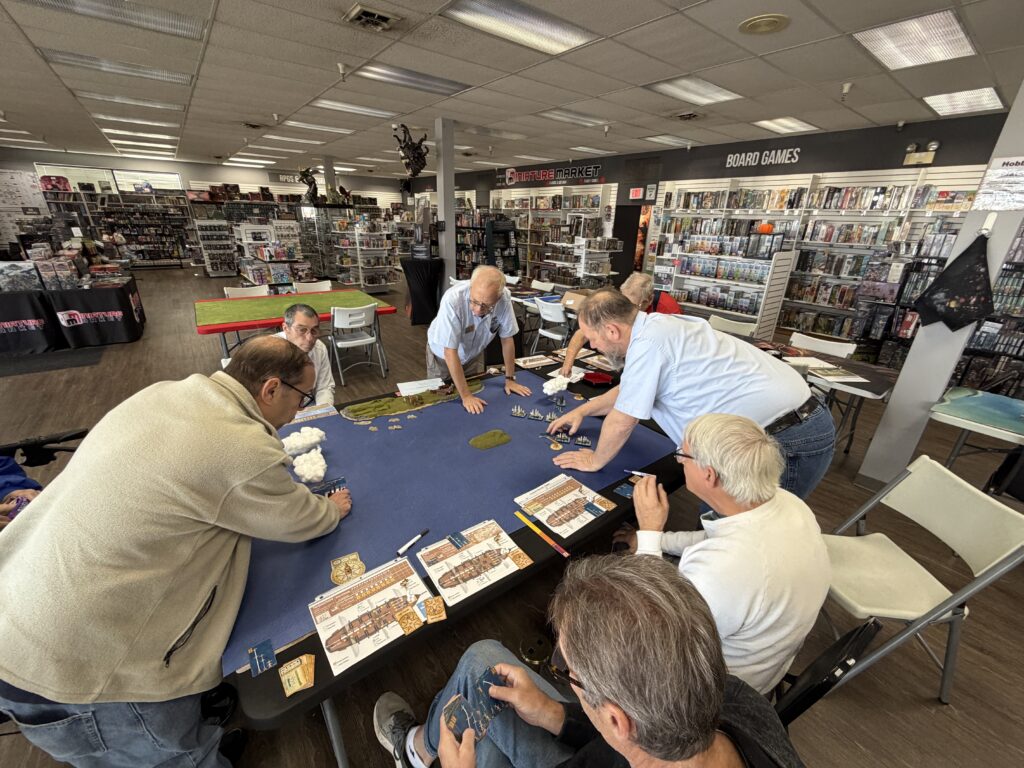
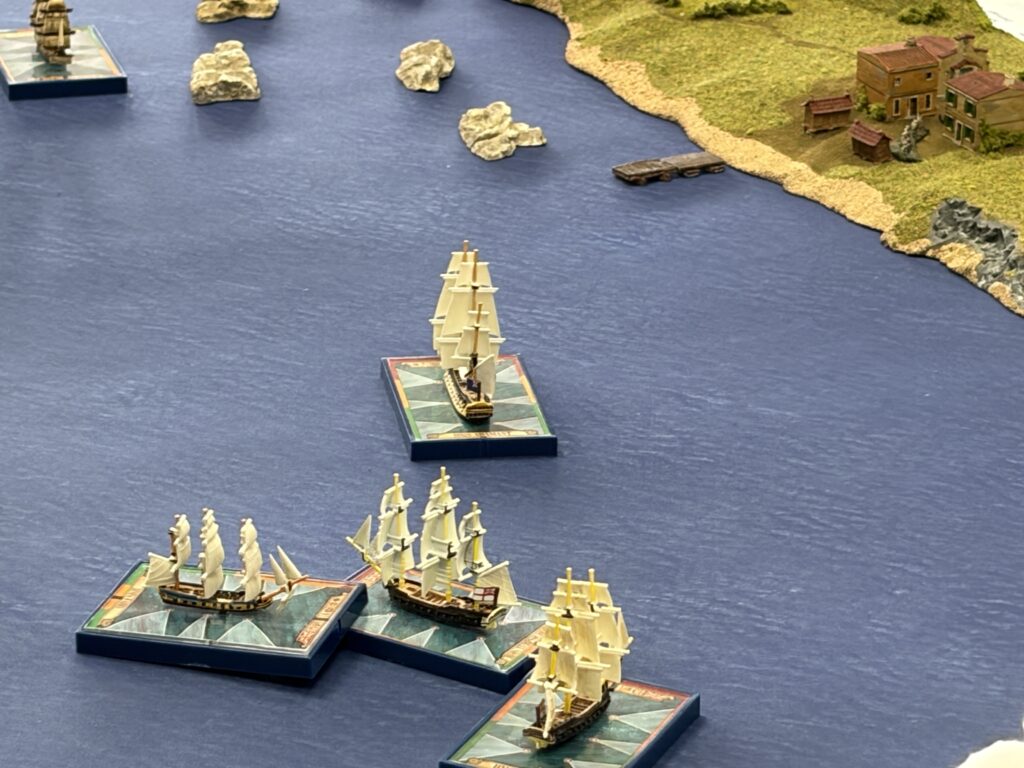
Mark Williams brought out his great looking “Sails of Glory” kit for us all to enjoy on a blustery November afternoon. The crew hoisted sails and cleared the decks for action as the Royal Navy engaged the Pirate Island and supporting ships.
Jay not only played but took notes and photos. The dispatch boat has just arrived with his report so we will turn the tale over to him…..
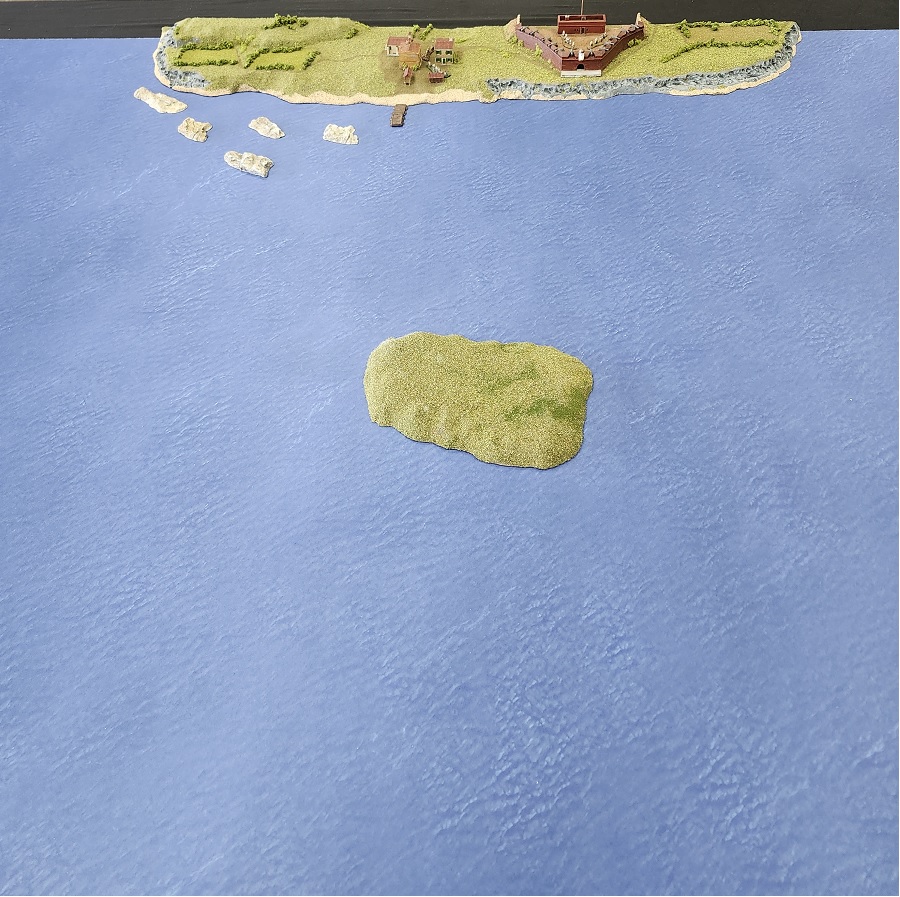
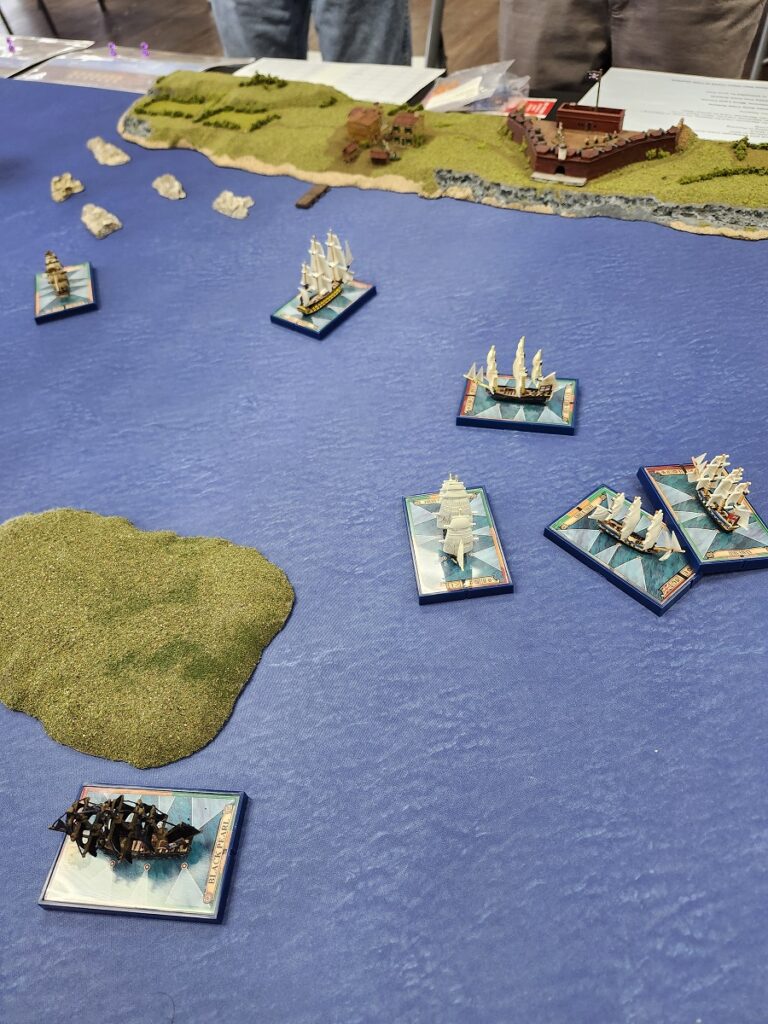
“Commodore Charles Johnson kept running the orders from London over and over in his mind. He was to take the pirate fort and town “immediately and without delay”. Obviously whoever drafted the order had no clue what things were really like out here. While he shared a low opinion of pirates in general, Blackbeard was another matter. While his squadron was fairly strong for these waters with the HMS Adamant as his flagship, frigates HMS Terpsichire, HMS Melfager and sloops HMS Swan and HMS Fairy, he also knew that Queen Anne’s Revenge was a strong ship in her own right and who knew what other ships Blackbeard would have at his disposal. He had 3 units of Royal Marines on his ships to assist with taking over the town and fort. 3 units were good for occupying something that didn’t have any real resistance. Dealing with a load of angry pirates was another matter. Well, he had his orders and the fort and town were in sight. Time to get it over with.+
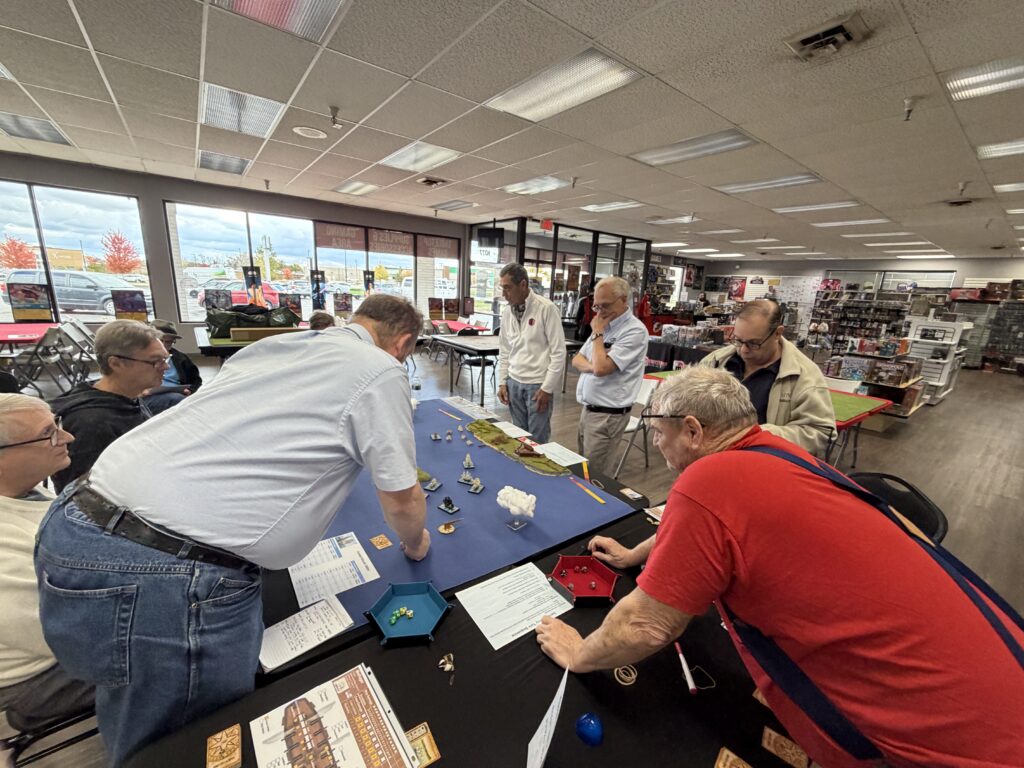
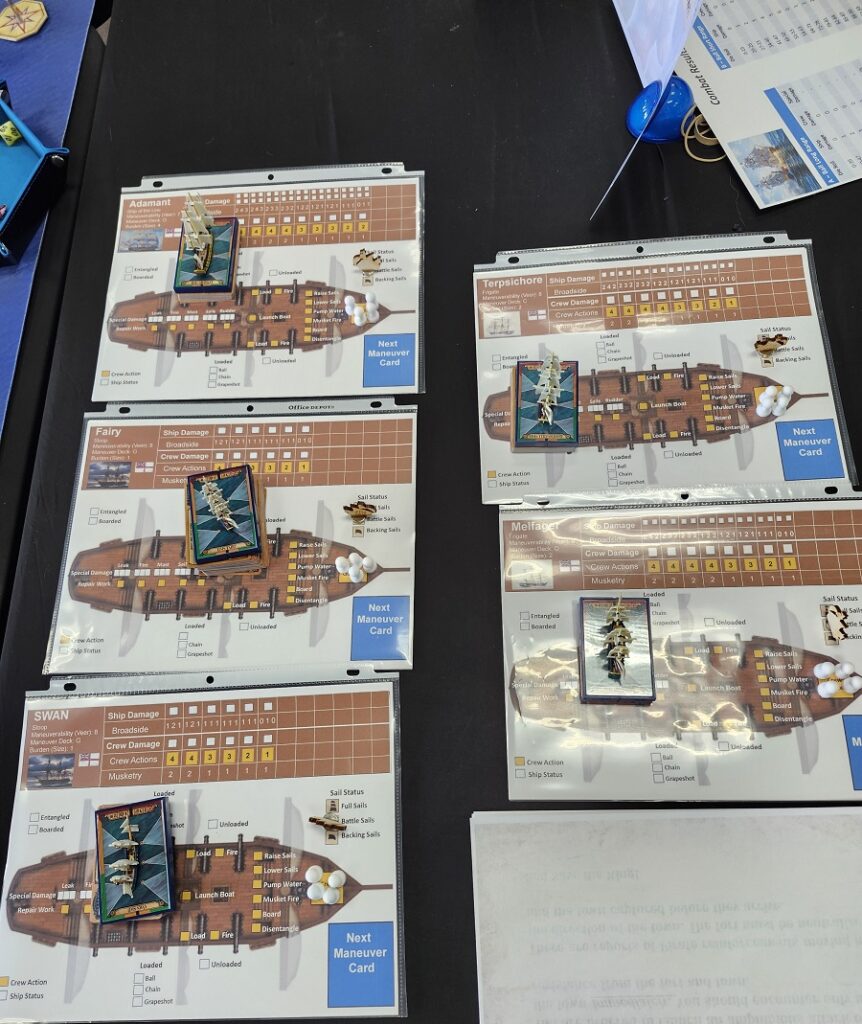
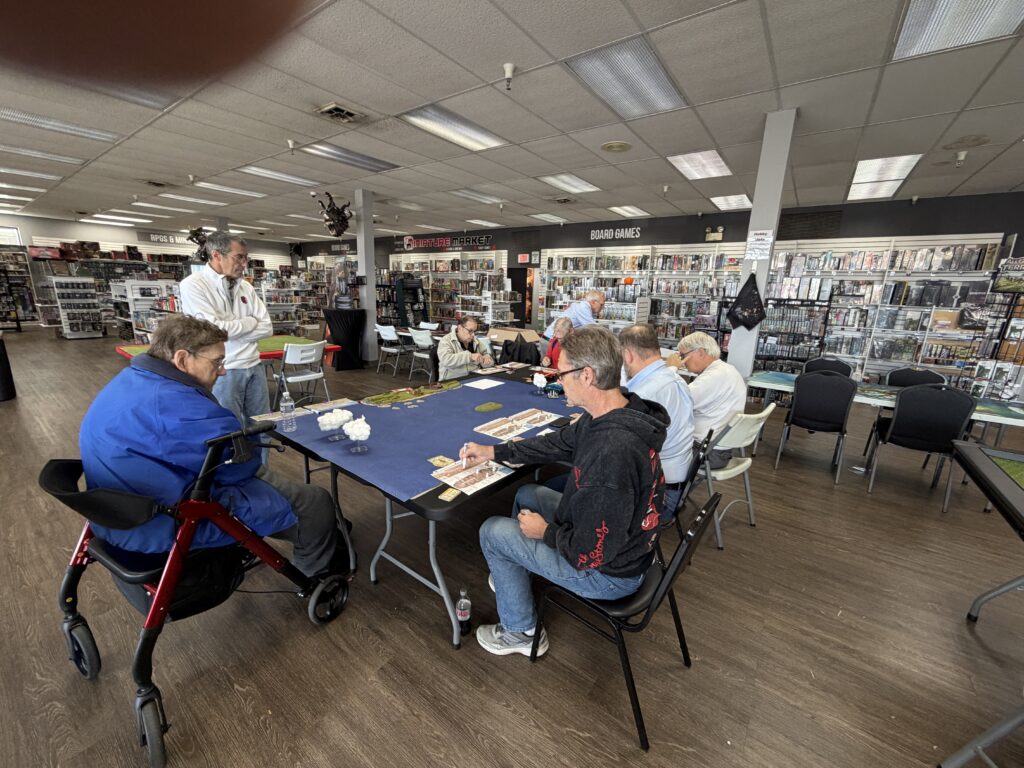
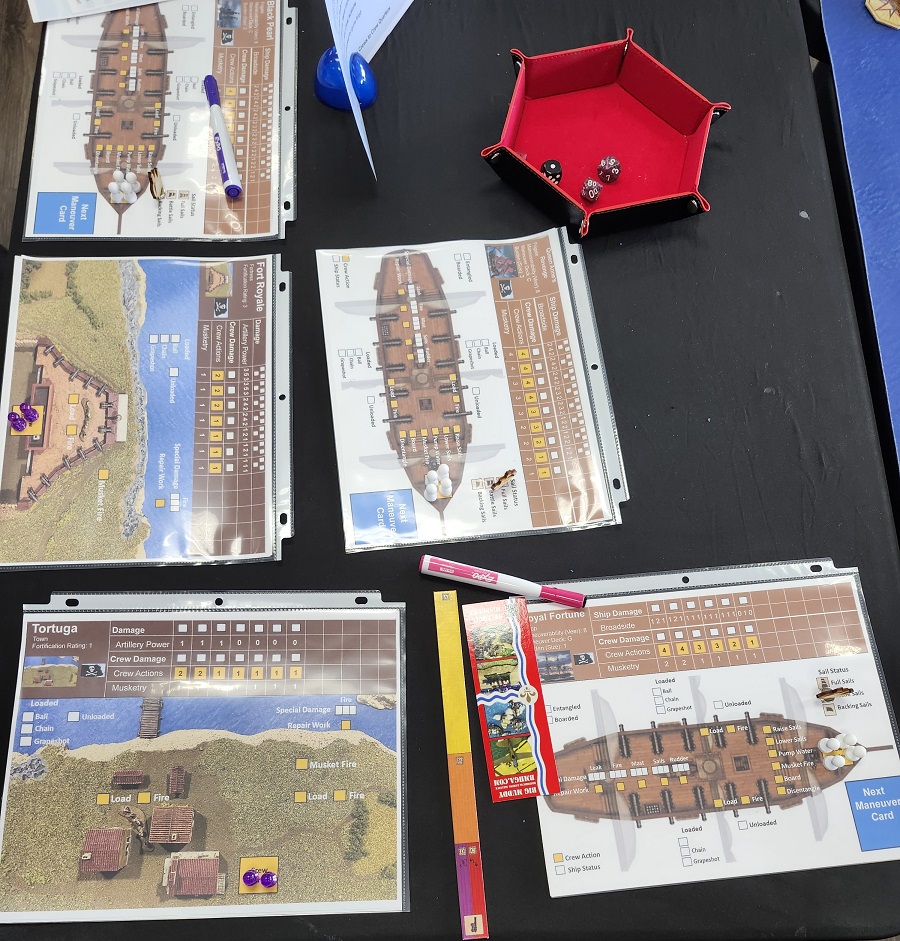
“The Thursday semi-retired crew got together for some seaborne fighting using Sails of Glory with Mark Williams hosting the session. The scenario is still under development and Mark had made some changes from the last time this was run. Today, the English were played by Gregg, Steve L, and Jay while Pat, Steve T, and Jules would take the role of the pirates. In addition to the Queen Anne’s Revenge (QAR), the pirates also had Black Pearl and a sloop named Royal Fortune. The rules set used was Sails of Glory, which is like Wings of Glory in that cards are used for maneuvering. Wind direction relative to the ship and how much sail is set help determine how far each ship moves. Each ship has a display that shows damage tracks and special conditions on each ship. Each ship also has to assign its crew to certain tasks (like loading guns, firing guns, fire fighting, adjusting sails, etc) and there are far more tasks than crew available so each captain must manage their ship’s crew. The fort and town have a layout as well. Mark added extra rules for the marine actions. After a quick brief and setup, Mark gets the action started with Kevin, DJ and Bill observing.”
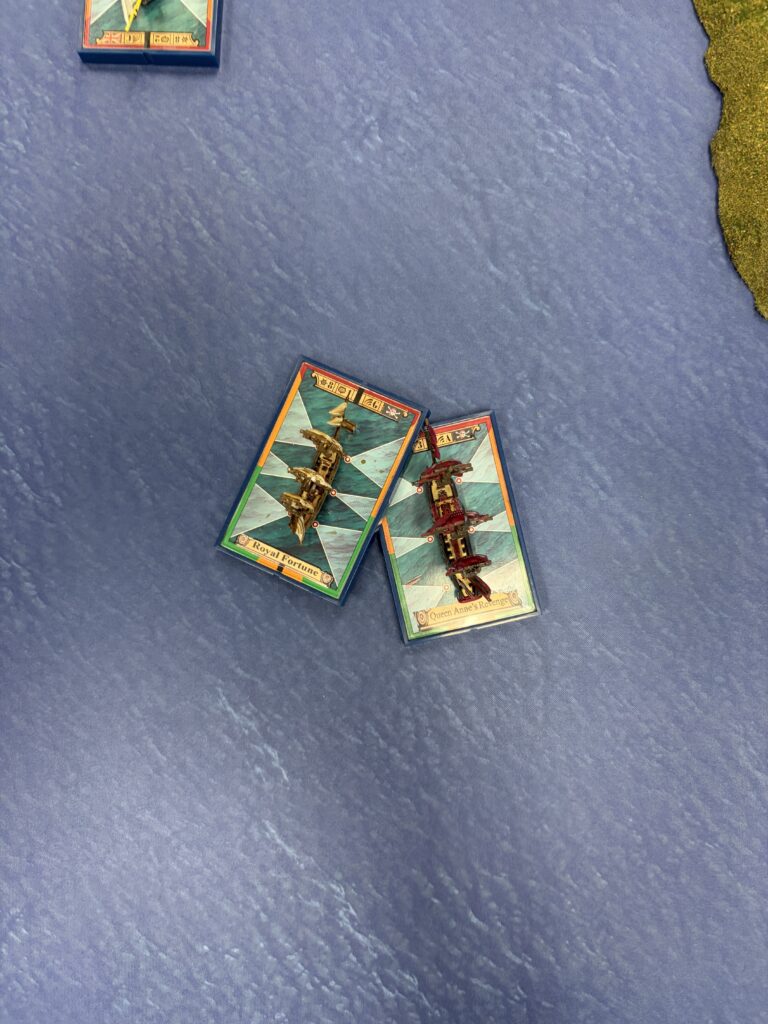
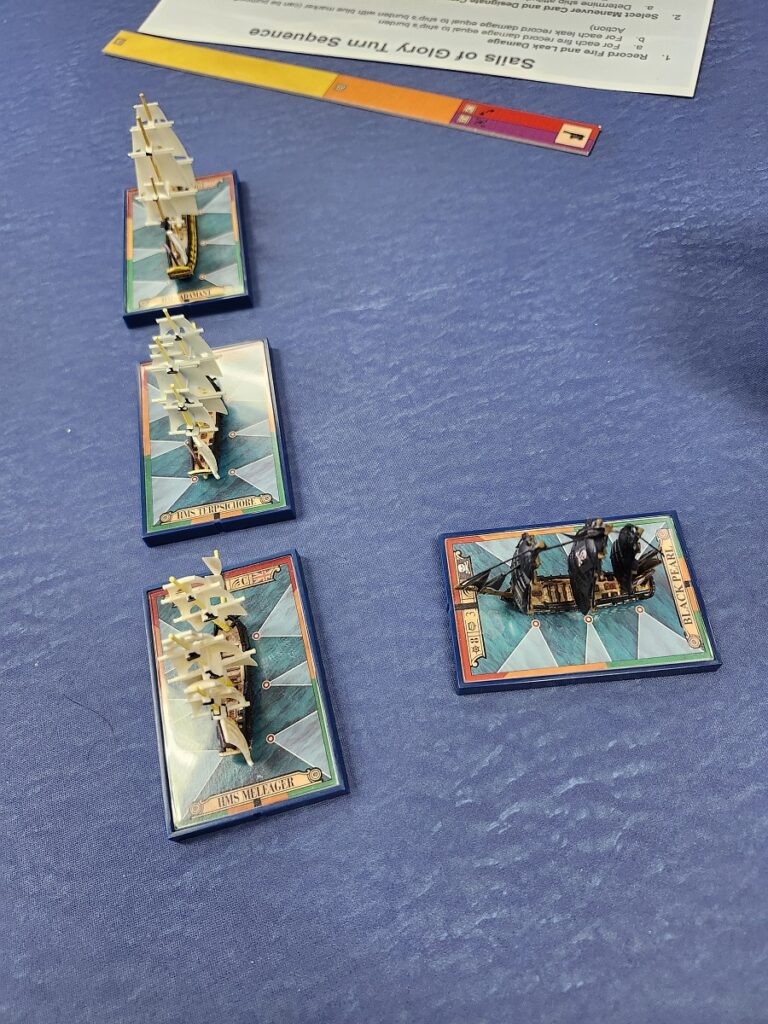
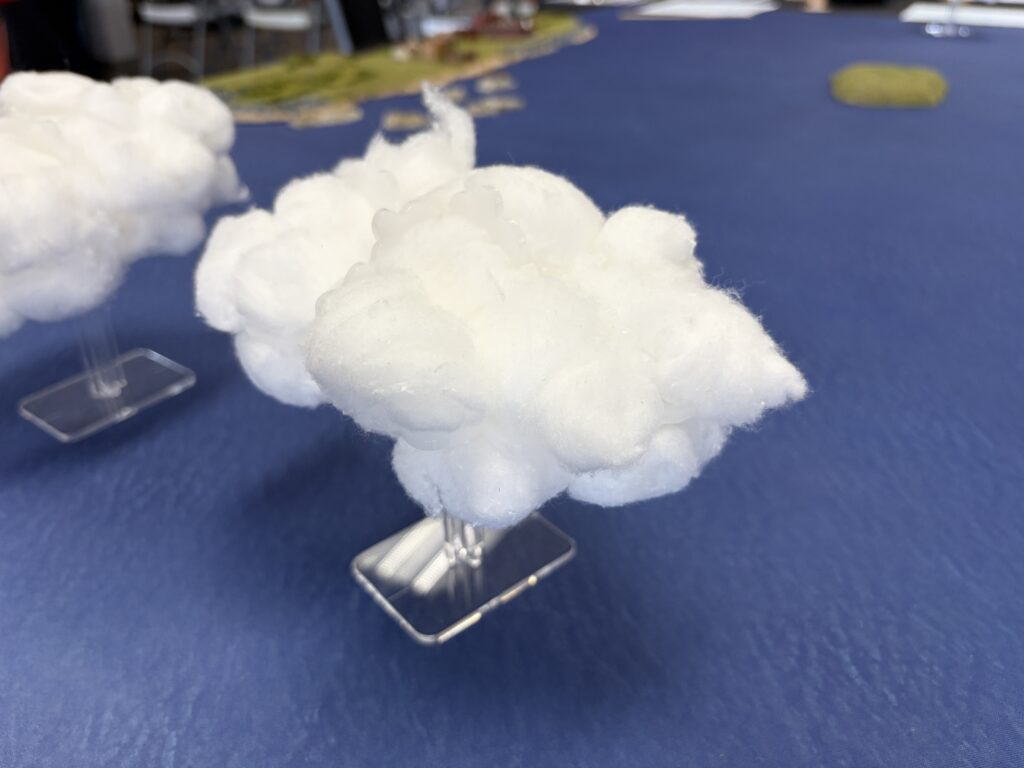
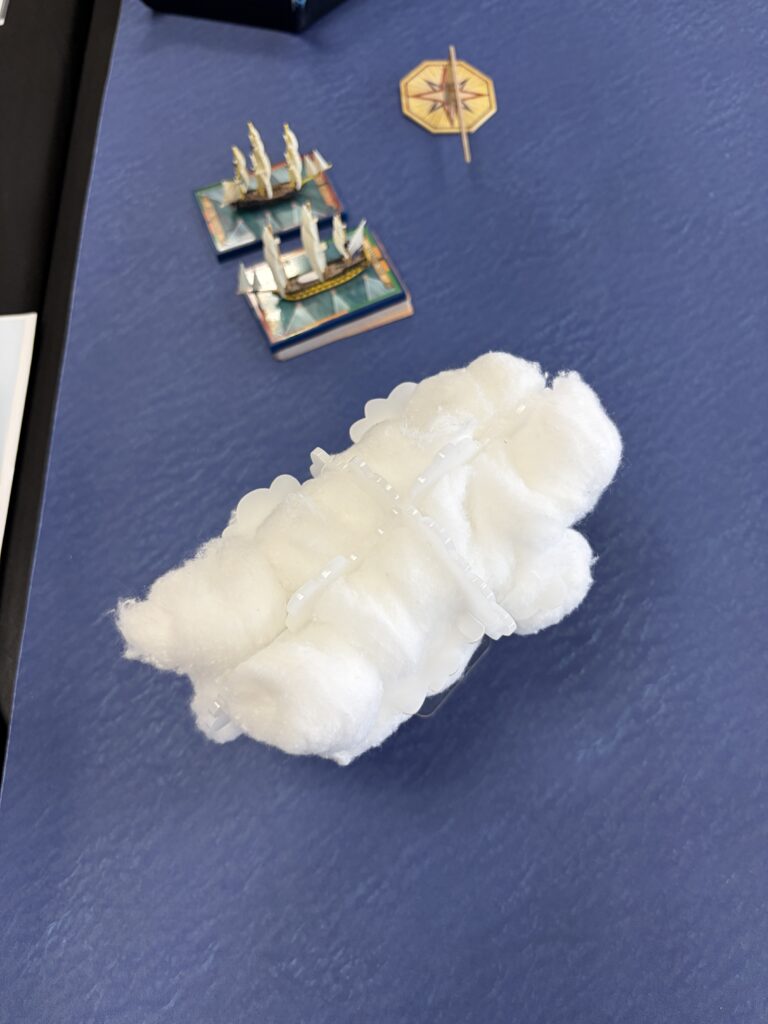
“The English approach the fort. There are some rain squalls on the board as well as they approach. As the English get ready to turn to start bombarding the fort, the Black Pearl makes a sudden appearance out of a nearby squall. Her timing was off a bit and she appeared rather close to the two English frigates instead of behind them. She gets a partial broadside on the Terpsichire while Terpsichire responds with a partial broadside and Melfager unloads an entire broadside. The Pearl takes worse than she gives, but is towards the back of the English formation and able to skirt to the stern of the two frigates while she reloads. QAR and Royal Fortune are spotted coming in from the other side of an island towards the English squadron. “
“Next turn, the two English sloops manage to manuver and feed the Black Pearl some round shot, doing good damage and starting a leak. The Pearl continues to cross the English rear going behind a small island, but is in pretty bad shape. “
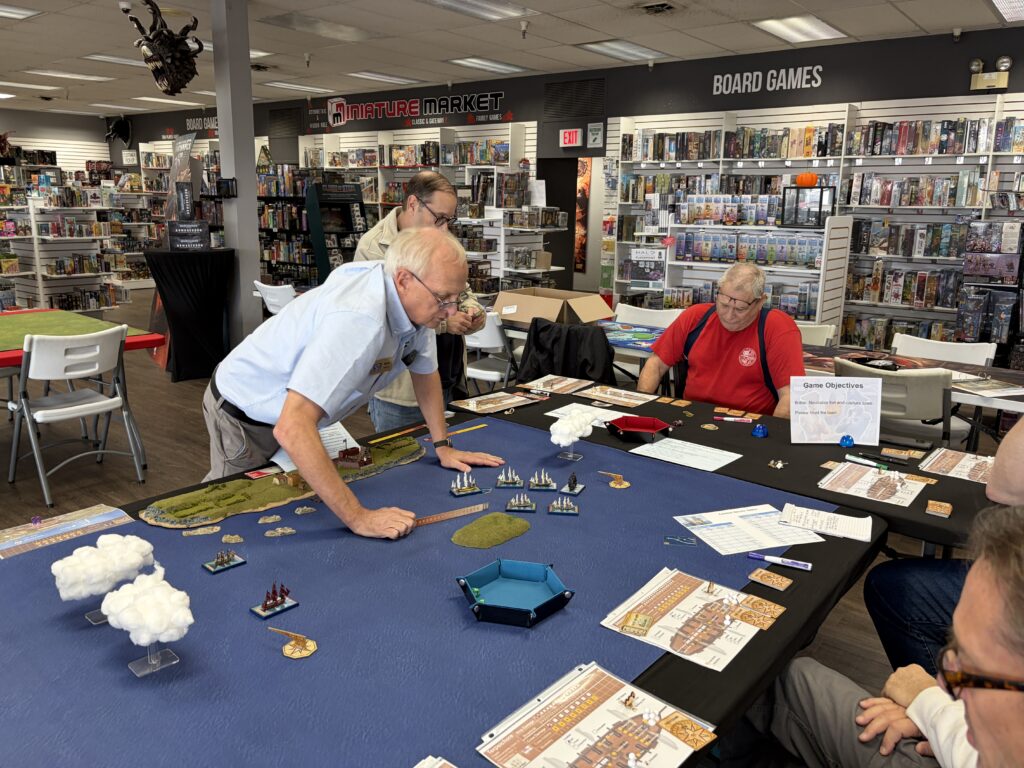
“Turn 6 sees the Adamant absolutely get hammered by both the fort and town garrison. Adamant tries to respond as best as she can and does damage to the fort. The next turn, Adamant manages to drop her unit of marines off on the dock where they promptly get shot by the garrison, but not before doing damage to the garrison. Adamant takes more damage from the fort and responds the best she can, but Pat’s dice are pretty hot while Steve does a lot of missing.”
“Turn 8 Adamant running aground by the dock before she sinks. Melfager mis-maneuvers and gets a broadside from QAR. Melfager takes their frustration out on the Royal Fortune and sinks it on a broadside. Melfager has a fire and rudder damage to deal with thanks to the QAR. Melfager also fires the other broadside at the fort from long range and can’t seemingly hit the broadside of a fort. (My dice were bad and I went 0-4).”
“Turn 9 starts out with Adamant trying to outdo Melfager in poor gunnery and manages to miss the entire town. (This triggers some comments about not being able to hit the broadside of a town let alone the broadside of a barn). Gregg with Terpsichire decides to have dice rolling class for Jay and Steve and proceeds to land a brutal broadside on the QAR, knocking down 2 masts and causing very heavy damage. QAR broadsides the Fairy and sinks it.”
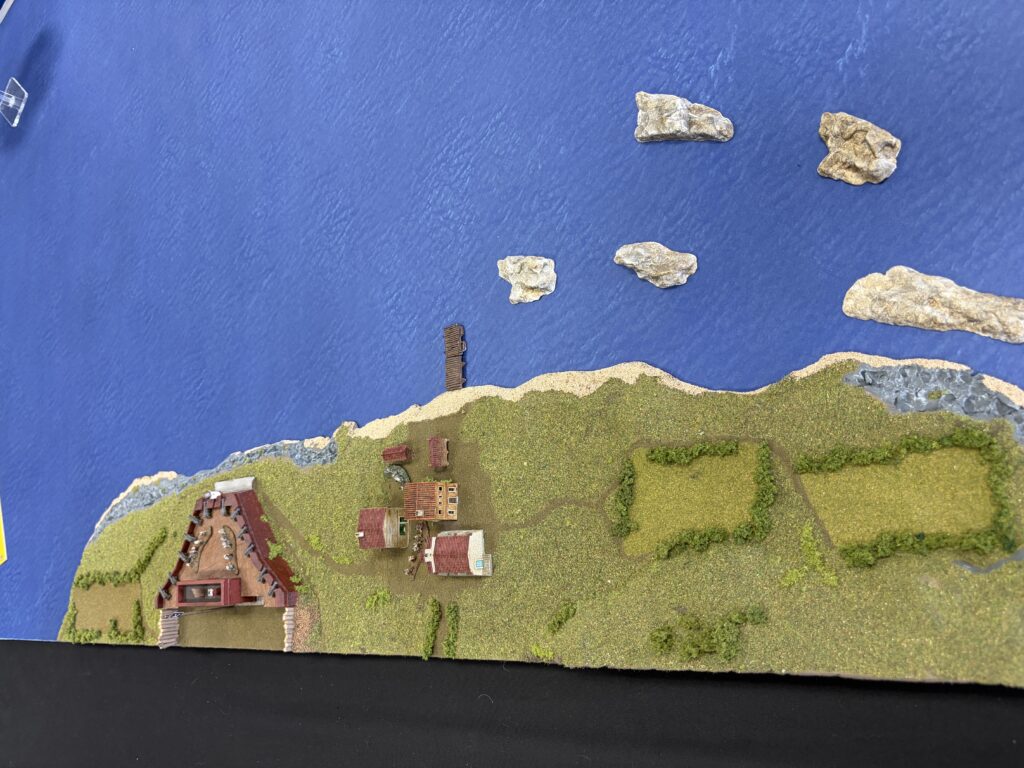
“Turn 10 see the town and Adamant still going at it with Adamant finally finishing off the last defenders there. The fort shoots at the Terpsichire, causing heavy damage and a leak.”
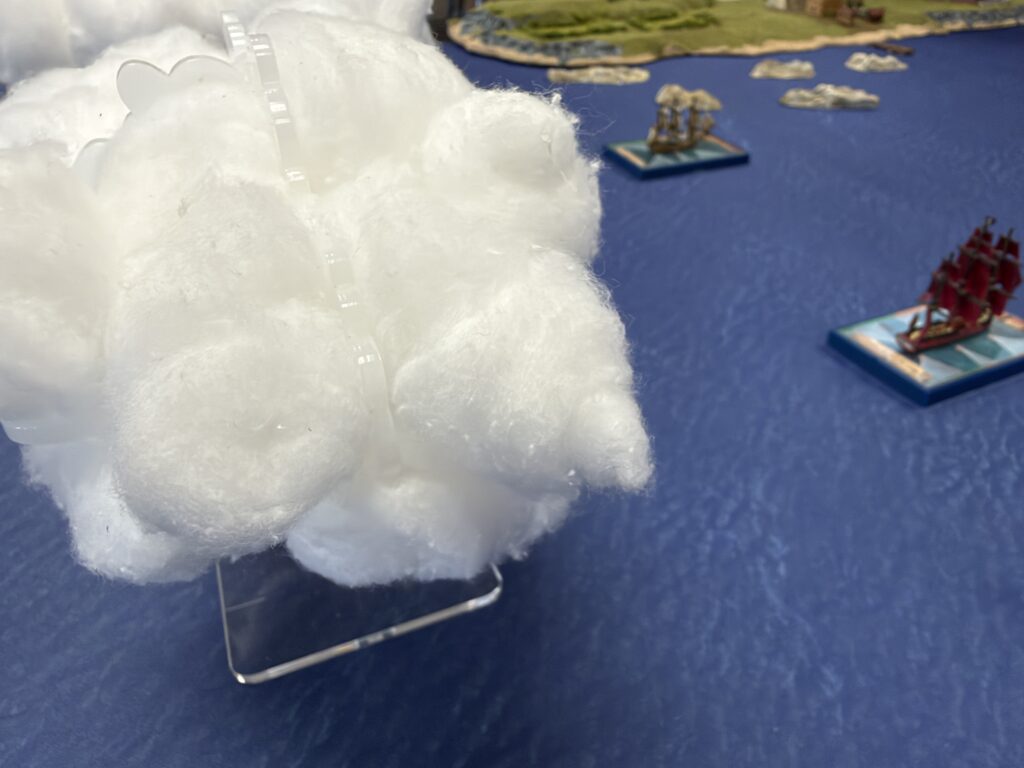
“Turn 11, the Pirates finish off the Terpsichire and the game is called at that point. With the fort in very fresh condition and the English squadron reduced to a damaged frigate and sloop, Mark judges the fort too strong to be reduced. The pirates win again!”
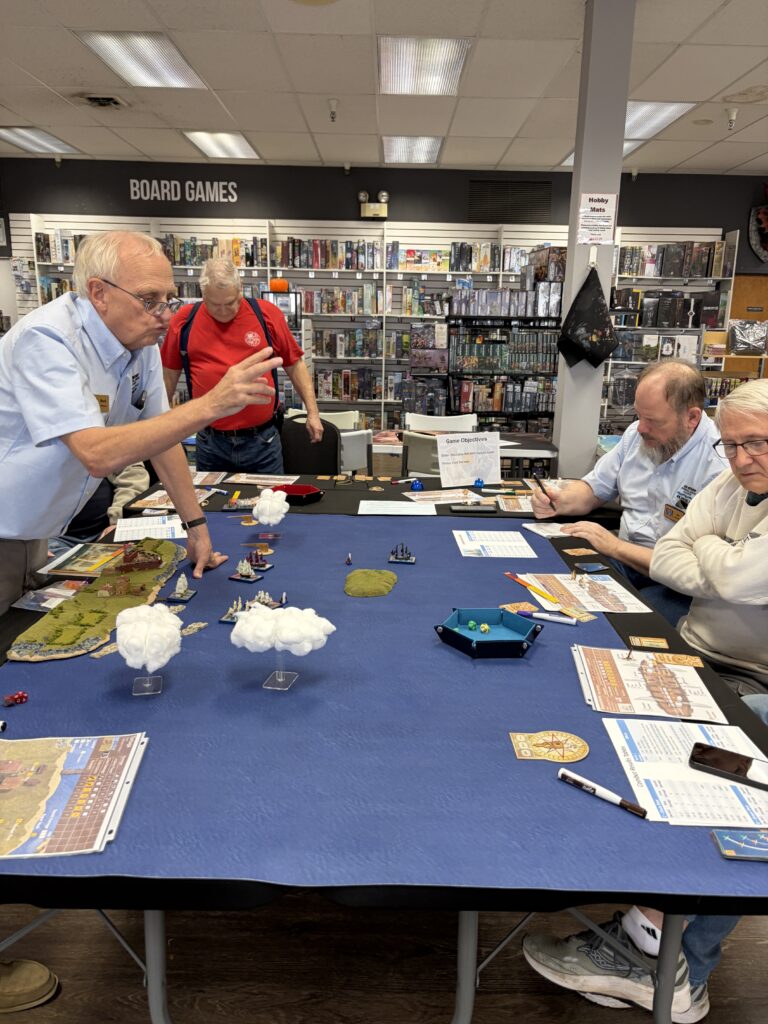
“As we are picking up the game, Mark holds a debrief on the scenario and the players give feedback. Some more adjustments are needed as both the Black Pearl and QAR are very strong ships (they are in between the Adamant and the two English frigates in terms of ship power pecking order). It didn’t help that Steve L. never got a good streak with the dice and Jay wasn’t much better or that the Fort was protected by plot armor (I think we had something like a 25% hit rate on the shots, when it should have been better) ”
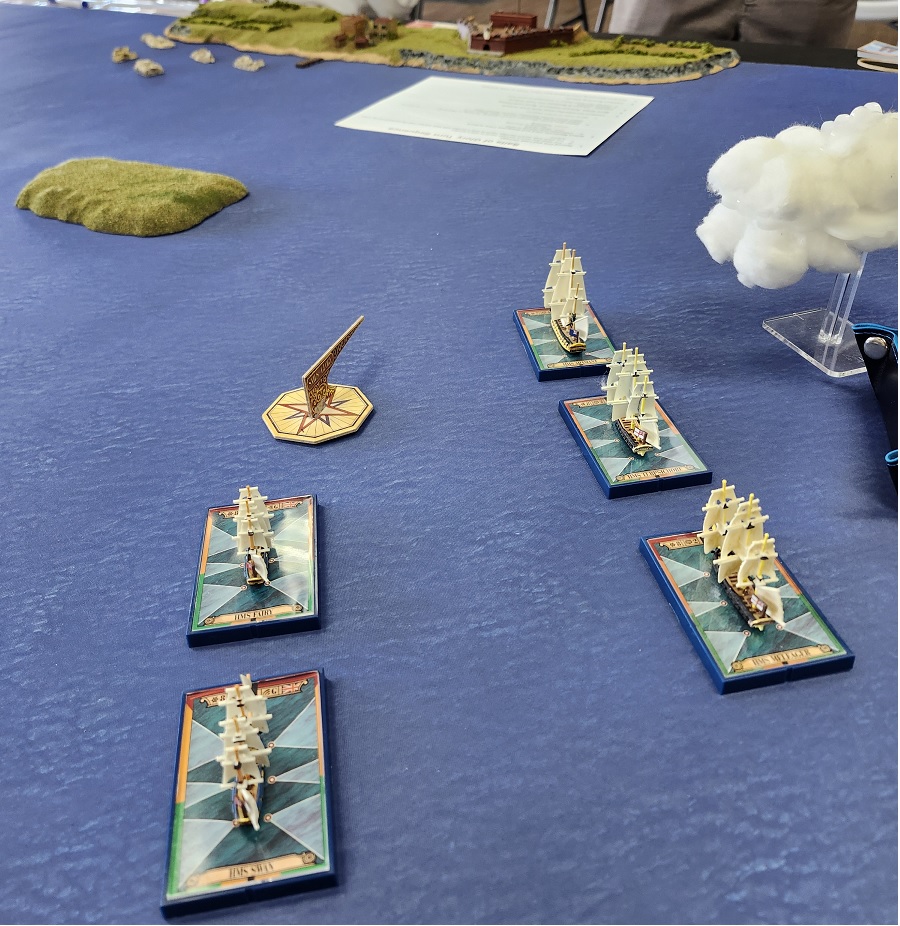
Thanks to Jay for this great look at the actions afloat, they are always engaging and fun reads. A Thank You to Mark for a great afternoon and all the players who came out to enjoy a fun dayof gaming. As always we extend our ongoing appreciation to Miniature Market Cave Springs for their continued support.
Remember to shop local!
Big Muddy Historical Game Alliance of Greater St. Louis
Our public educational demonstrations including rules and game evaluation sessions use historical miniature and historical board gaming to explore military history, historical decision-making, and the people, places, and events of the past.
Historical Gaming in Action is a public educational program presented by the Big Muddy Historical Game Alliance of Greater St. Louis.
Using miniature figures, terrain, maps, historical research, and guided play, our games explore military history through the decisions faced by commanders, soldiers, and communities. Visitors can examine the table, ask questions, learn about the historical setting, and—when space and time permit—join the game.
Our scenarios are based on historical sources. While game rules simplify some details for practical play, each event is designed to encourage discussion of historical events, geography, leadership, logistics, strategy, and the human experience of conflict.
Historical gaming can be both enjoyable and educational. Big Muddy provides public educational demonstrations, seminars, and convention programming that promote historical miniature gaming and military history.