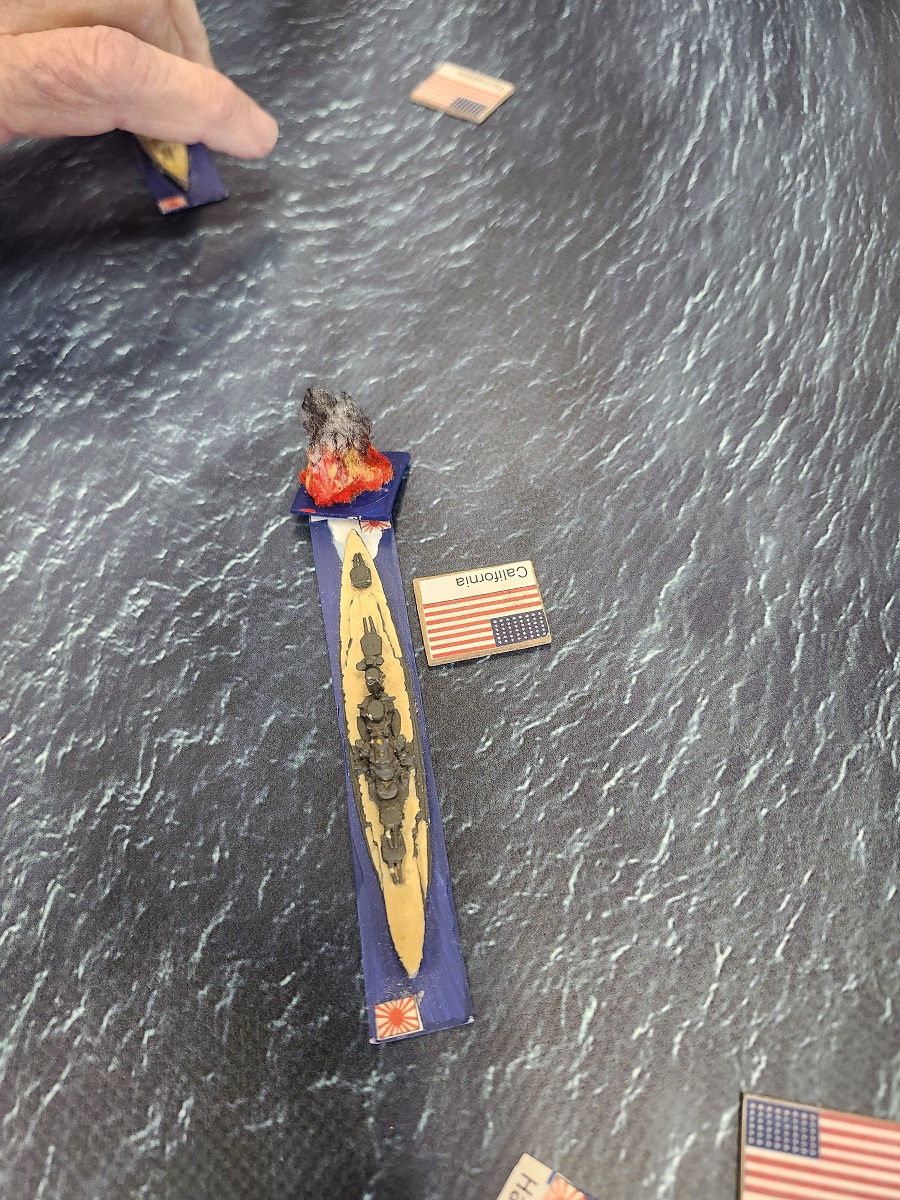
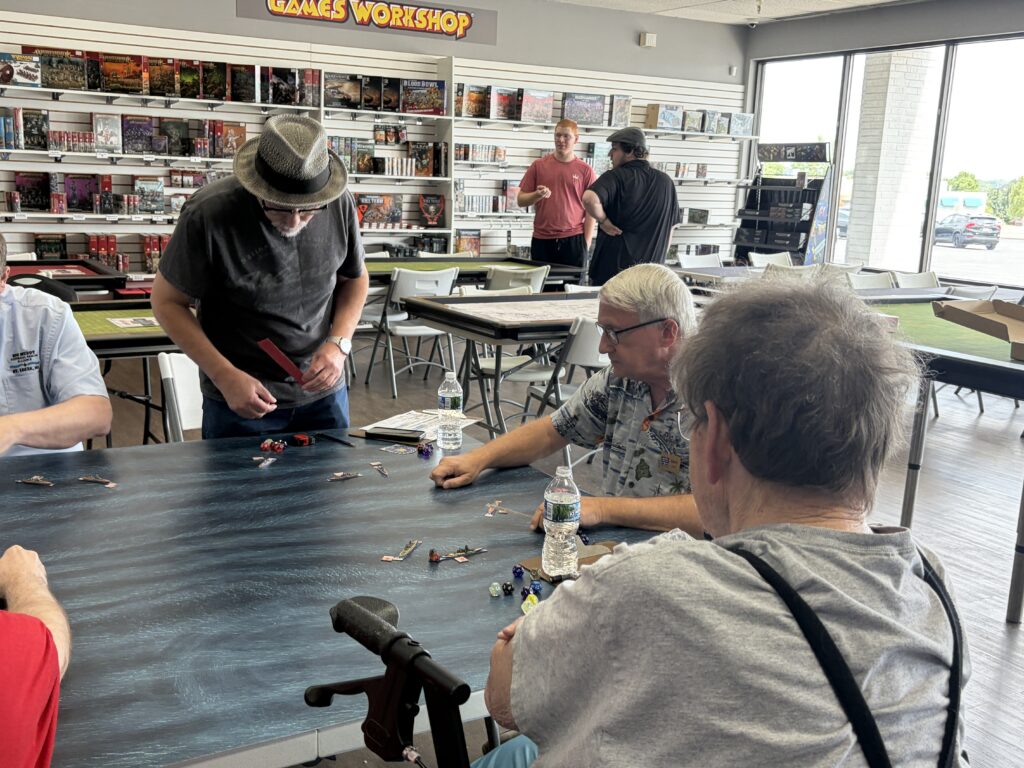
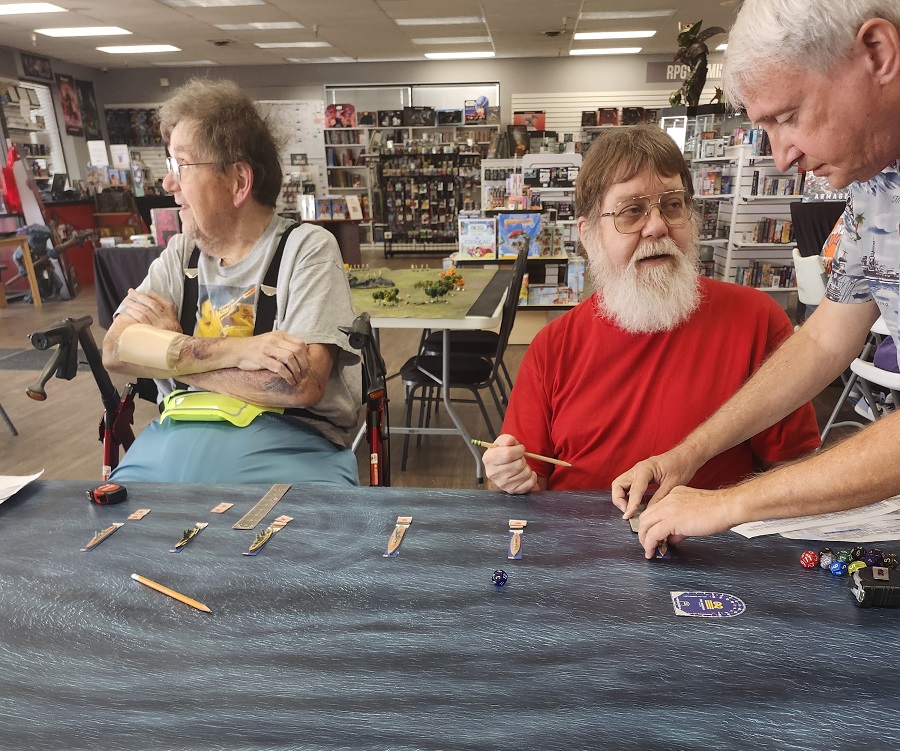
Steve Lowry brought out his Pacific WWII Naval miniatures for a game of General Quarters III as we ventured to the waters of the Leyte Gulf for a bit of a “What If” scenario seeing the IJN combine a couple of battleship forces in an effort to punch through the USN lines and get to the beaches.
Jay Clendenny was kind enough to submit this report on the race so we will turn it over to him. …..
“Admiral Thomas Kinkaid tried to appear relaxed in front of his staff, but he was secretly apprehensive about not knowing what happen to a Japanese taskforce that was supposed to force the Surigao Strait from the south last night. The secret intel reports he had seen clearly indicated at least one and possibly two small Japanese task forces were supposed to come up the strait. He had given orders to Admrial Jesse Oldendorfs bombardment group of Pearl Harbor surviors along with cruisers and destroyers to block the strait. They had reported no contact throughout the night. He had also heard nothing more about the powerful Center force that had apparently turned back after being mauled by Admiral Halsey’s carriers. An aide came in with a message. “Report from Admiral Oldendorf sir”. Kinkaid looked at the message and his apprehension went up even more. The report indicated a Japanese force of at least 6 battleships, including the Yamato, coming up the strait. That was at least 3 times the force the Japanese were supposed to have. Oldendorf was about to have a severe fight on his hands and Kinkaid had nothing to immediately help him with.”
“The semi-retired guys got together for some “what if” action. GM Steve L cooked up a scenario where the Japanese center force actually did retire (historically it turned around and forced the center passage resulting in the battle of Samar). The Imperial Navy HQ decided to delay the two smaller southern forces and have the Central force join them and then make a push up from the south. Historically, the US bombardment group of Pearl Harbor survivors heavily outnumbered and pretty much destroyed the Japanese task force coming up from the south. With the addition of the central force, it is much more even on paper. The Japanese objective for the scenario is simple. Cross the table and exit off the US side to go sink the US transport fleet.”
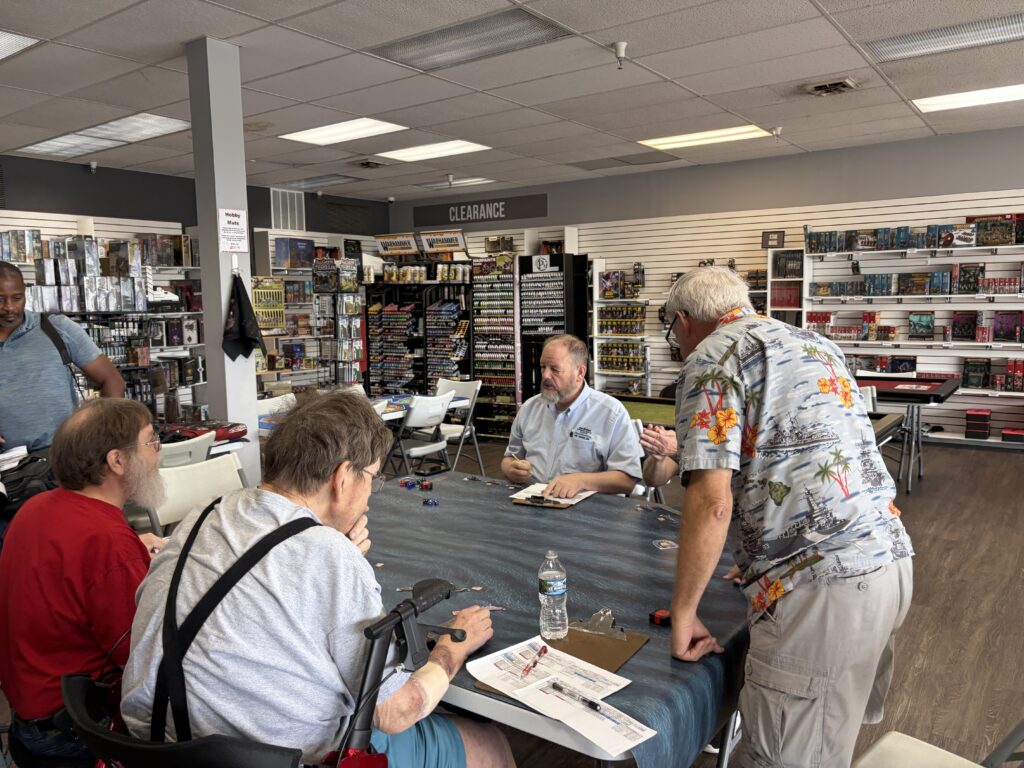
“The game system used Is General Quarters. It uses 12 sided dice for the most part and looks at gun data, range to target and armor. Ships have a ship display to keep track of damage and you check off boxes as they are damaged. Critical hits are possible along with fires. The good news is the system also makes allowances for repairs on certain items. When repairing something, there is a chance to fix it, to have it remain a work in progress or realize that it can’t be fixed during the scenario. (This would become very important later). In general, each ship gets 1 12 sided die for each 2 guns it has that can bear. Both sides had ships with 12 main guns so they were rolling 6 dice if they had a broadside. Ships with 8 guns like the USS Maryland or the IJN Kongo got 4 dice.”
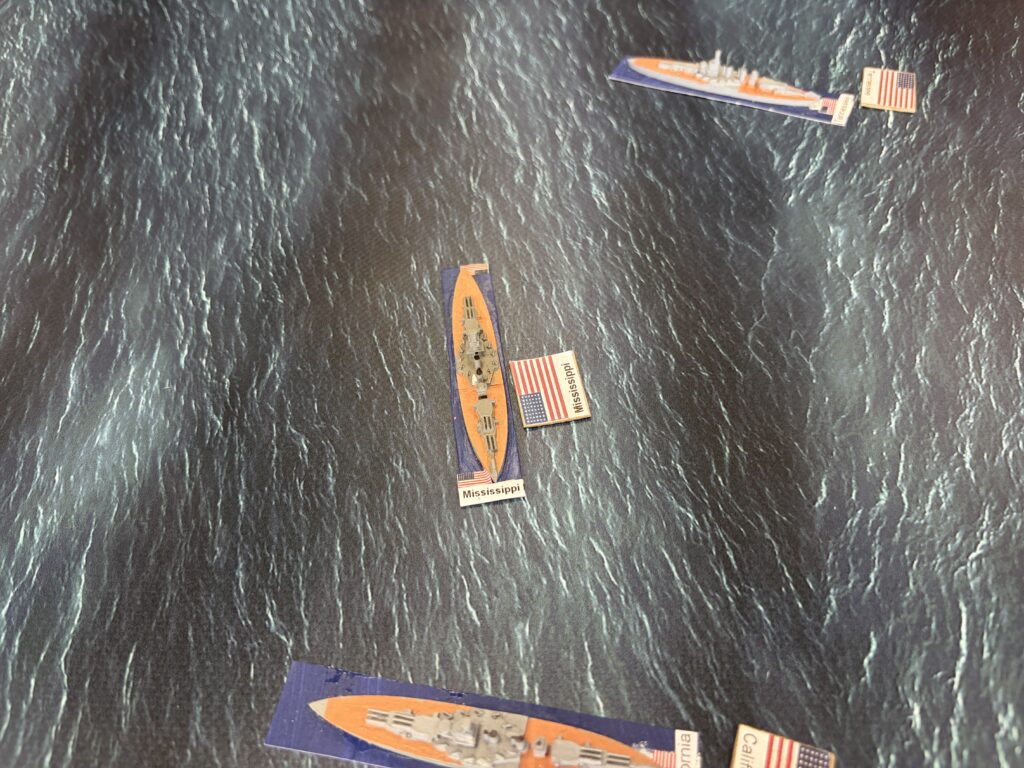
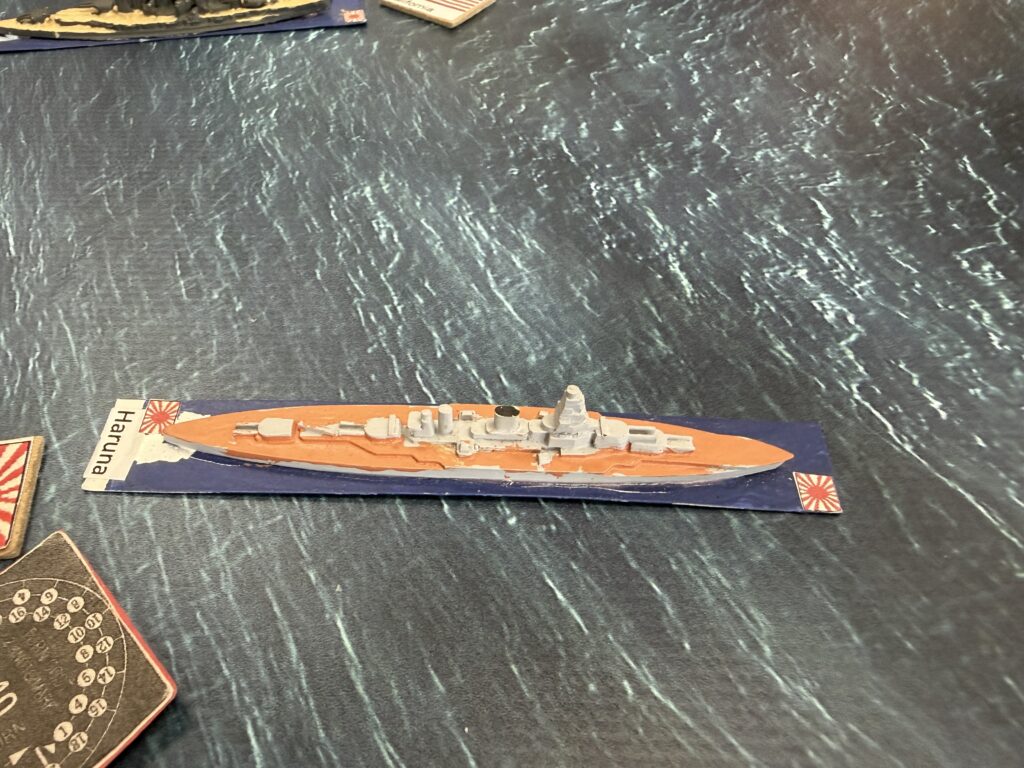
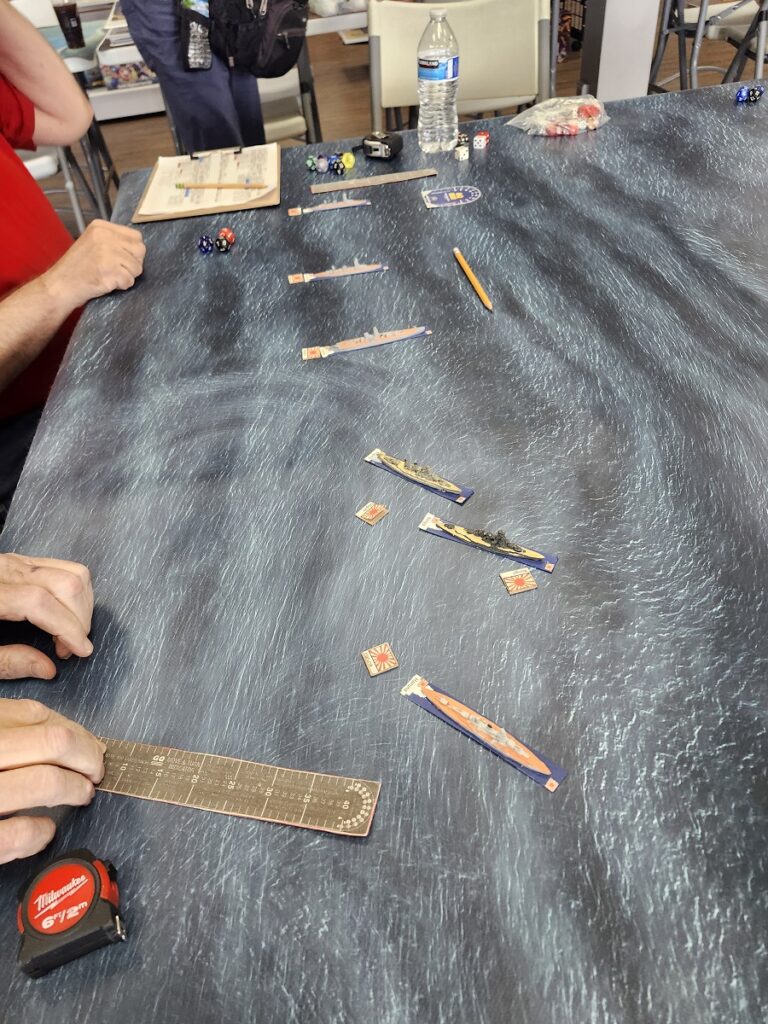
“Kent and Bill took the Japanese fleet while DJ and Jay took the US. The battle essentially evolved to DJ and Bill going at each other with 3 ships each and Kent and Jay going with 3 ships. Bill had the weaker Japanese force with Kongo, Haruna, and Nagato while DJ faced him with the Tennessee, California, and Mississippi. Kent had the Yamato with Fuso and Yamashiro while Jay had Maryland, West Virgina and Pennsylvania. The Japanese force was a lot faster with the US top speed of 21 knots. The Yamato was obviously better than anything else on the map with Nagato being equal to the best of the US ships. The other Japanese ships were inferior (especially in armor) to the US ships with Kongo and Haruna being undergunned with poor armor. They were the fasted ships on the map however.”
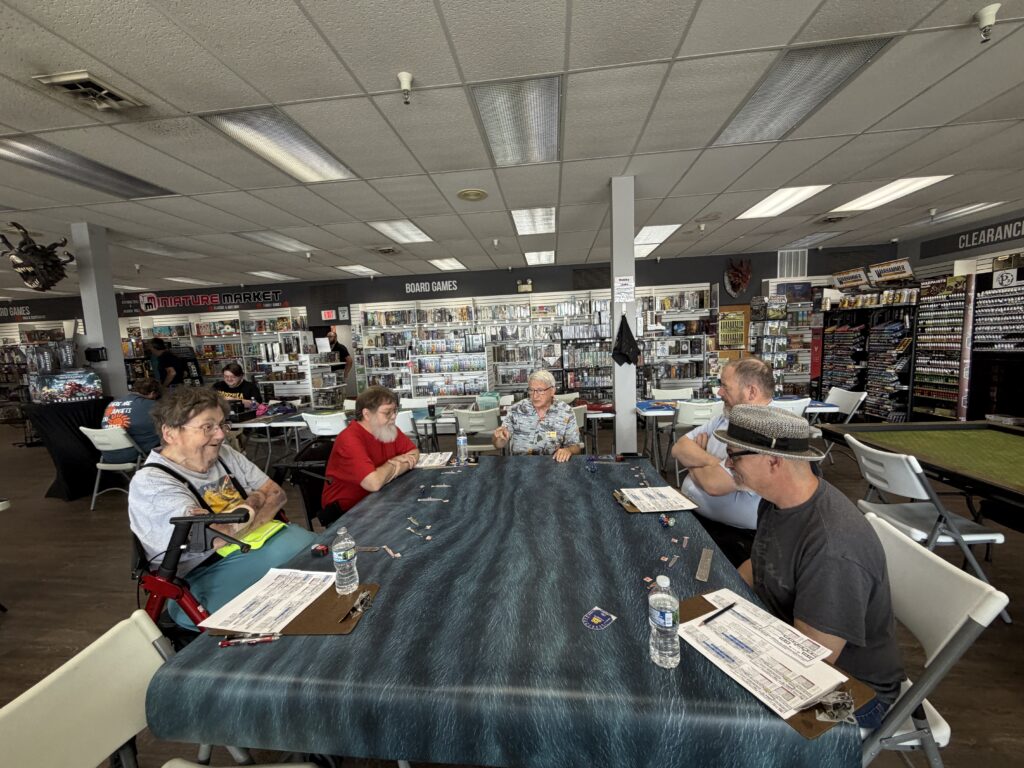
“The opening shots took place almost immediately as the Japanese tried to push across the table. Bill and DJ get into damaging each other quickly as Kongo loses two turrets early while Pennsylvania winds up with a fire on board.”
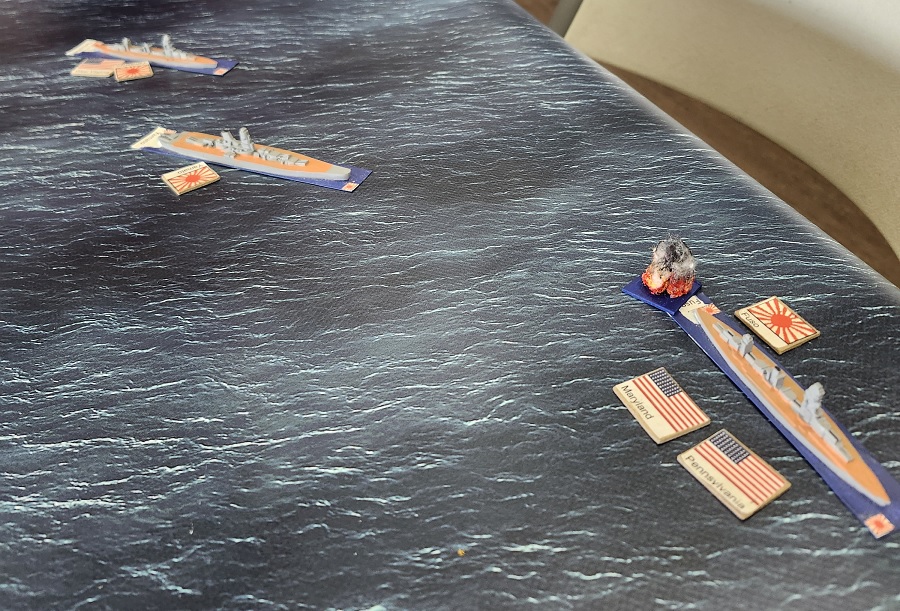
“As the battle continues, it becomes clear it is not Kongo’s day as she takes heavy damage and has a fire break out. On the other side, Jay has the better of the early dice and Kent takes some damage. A shot by Jay then changes the battle as a lucky crit on Yamato’s rudder sees it become stuck so the Yamato can’t turn. Unfortunately for Yamato, her heading will take her off the side of the map (where the edge of the straight is, so essentially she will run aground). Kent further compounds the issue with a repair roll indicating that the rudder can’t be fixed during the scenario (The table immediatly recalls the situtation with the Bismark’s rudder). Kent starts slowing down the Yamato so he gets more turns of gunfire from her although when it comes to her gunnery, it has been bad. “
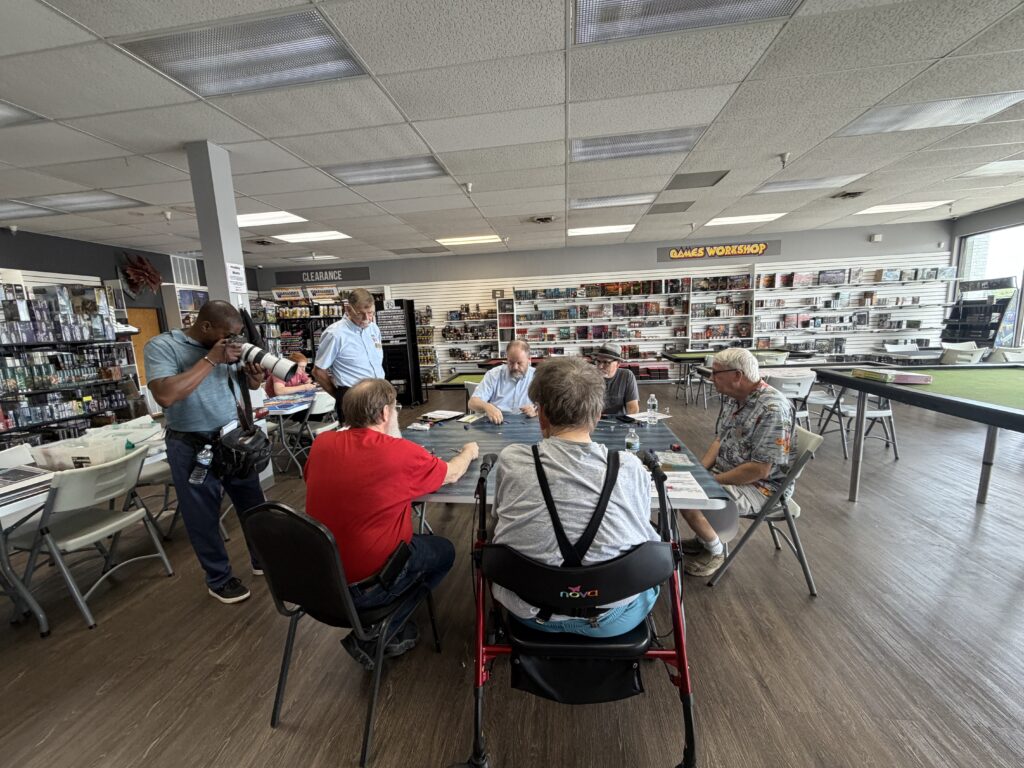
We were joined by photographer Christian G from the St. Louis Post – Dispatch at our game as Big Muddy Historical Gaming Alliance – St. Louis is scheduled to be in the Feature Section soon with an article written by Coby Rinke.
“The Japanese continue to try to press getting off the edge for their victory condition while both sides take damage. Kongo loses her last main turret and decides to limp off to the south at 4 knots. Haruna takes a lot of damage. Nagato is still relatively healthy and moving at 20+ knots although she is down some gun turrets. Both Yamashiro and Fuso are down several turrets, but considering they started with 6 each, they still have a number of guns operational. Yamashiro had 5 fires started during the fight, which did a lot of damage to her. Kent managed to put them out, but they took a heavy toll on the ship and reduced her speed. Yamato finally finds the range on West Virgina and causes heavy damage along with knocking out several turrets. DJ’s ships also take some damage as well, but remain in better shape than their Japanese counterparts. The US gunnery that had been doing well decided to take a downturn as both Jay and DJ could not seem to hit anything while Kent’s gunnery finally picked up a bit.”
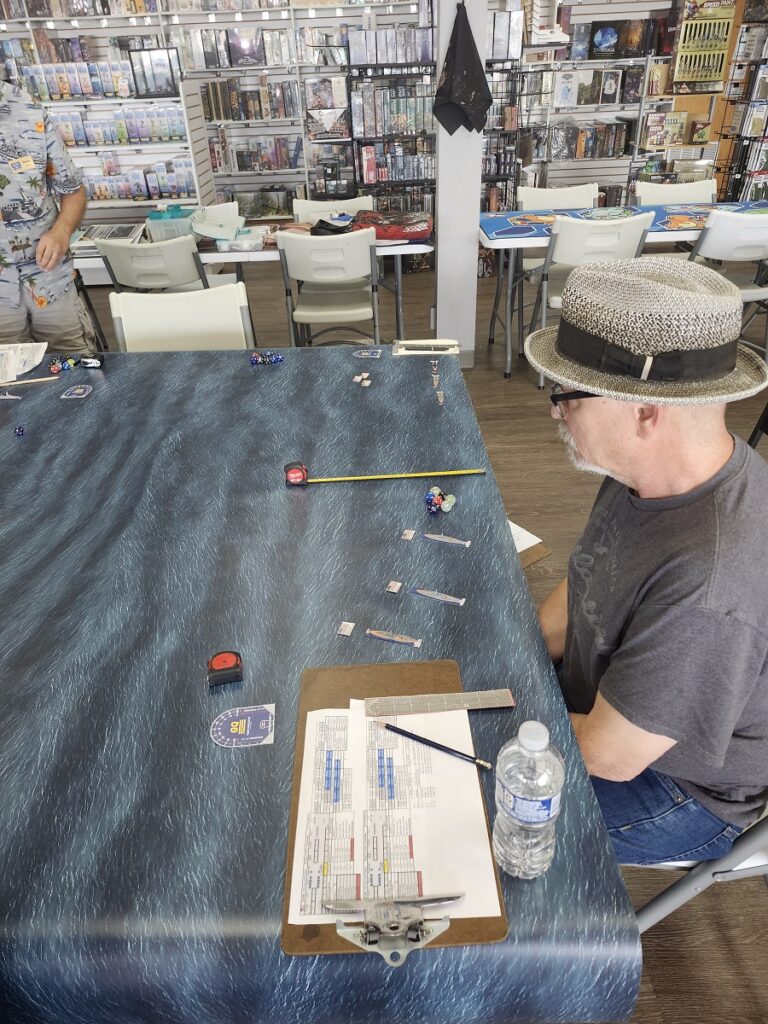
“The battle comes to a close as Fuso and Nagato make a beeline for the map edge. Haruna is sunk while Mississippi flunks a moral check and retires from the action. This allows the Nagato to sneak off the board, but with only 1 operating main gun turret. The Fuso’s charge is stopped by the Maryland and Pennsylvania while Yamashiro goes down. The Japanese are awarded with an extremely marginal victory since they did get a ship off. Admiral Jay inquires what Admiral DJ will say at his court-martial for letting a Japanese ship escape. Admiral DJ planned to use the “My guys couldn’t hit Nagato” excuse.”
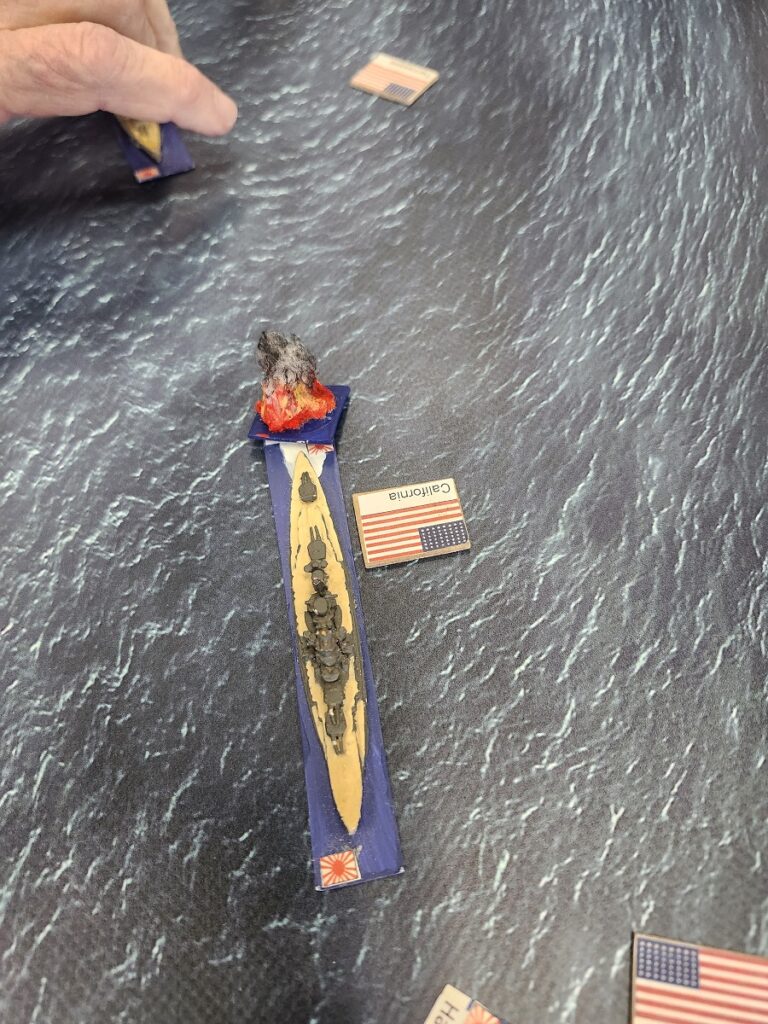
“A very interesting “what if” scenario by Steve who also has cruiser and destroyer components he can add to the game if more time and people are available. (That would be a really crowded table tho). Overall, a fun afternoon of naval miniatures. “
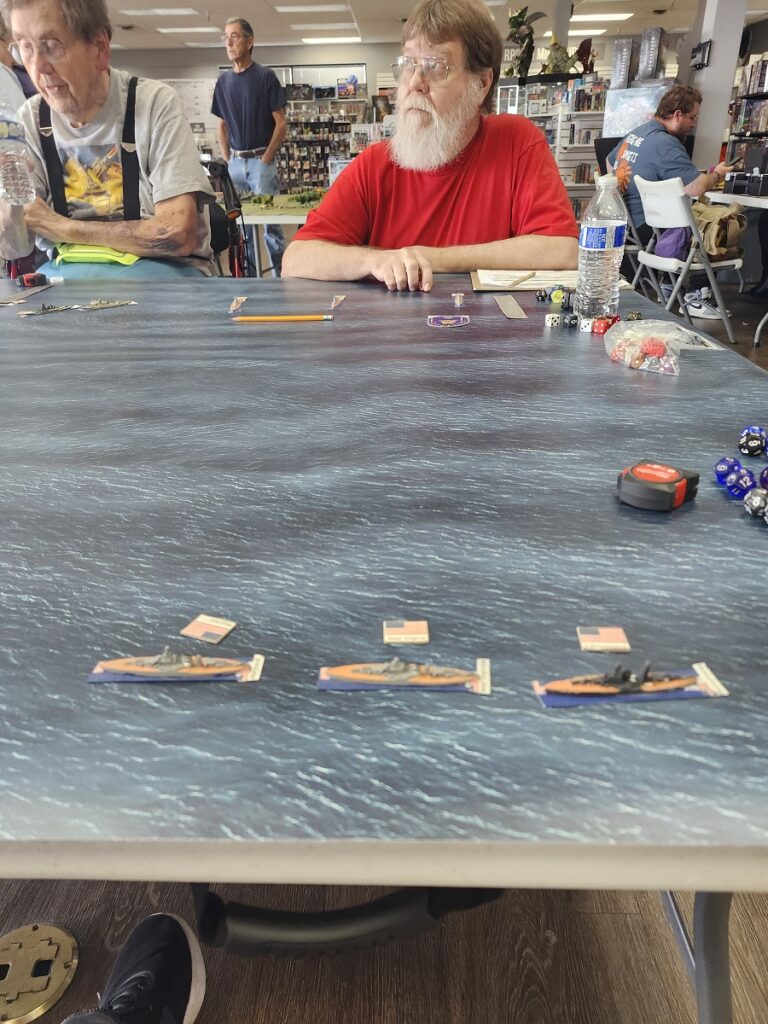
On our second table we saw the workup of a One Hour Skirmish Wargame Rules Second Boer War scenario. It was called Black Week by the British for a reason as they suffered several humiliating defeats. In this case we were depicting the MacBride’s Irish Brigade (Kurt L.) attacking some British Artillery (Pat L) that had gotten out ahead of their advancing infantry.
The British Artillery started, having just deployed when the Irish Brigade revealed themselves and started the work to take the guns.
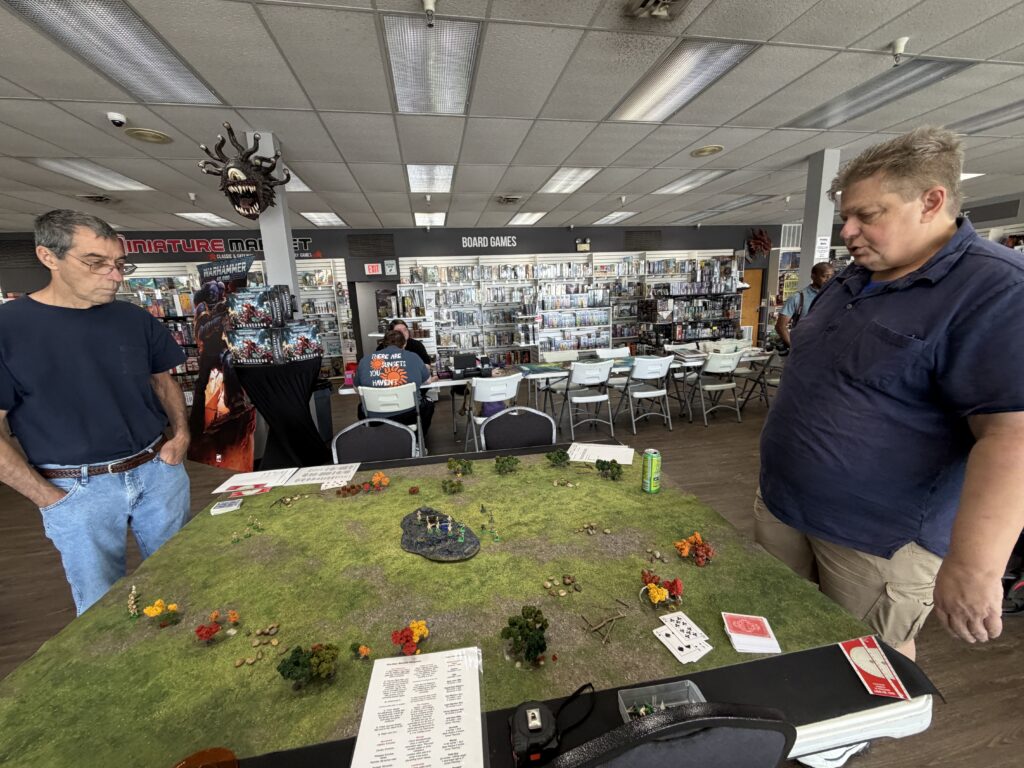
Using the OHSW rules system action points and combat results are decided by card draw as the game does not use any dice. It was deck against deck. Kurt made good use of his cards and initiative to disrupt the British gun crews which just got off one round. The Boers being excellent marksmen were given an advantage of the “dead shot” attribute allowing them to draw an extra card each time they fired.
The British under Pat were plagued by having two commands (the artillery areas and the supporting infantry that was coming up) to move and just one card of action points to do so along with some low card numbers. That said the numbers favored the British and eventually told the tale.
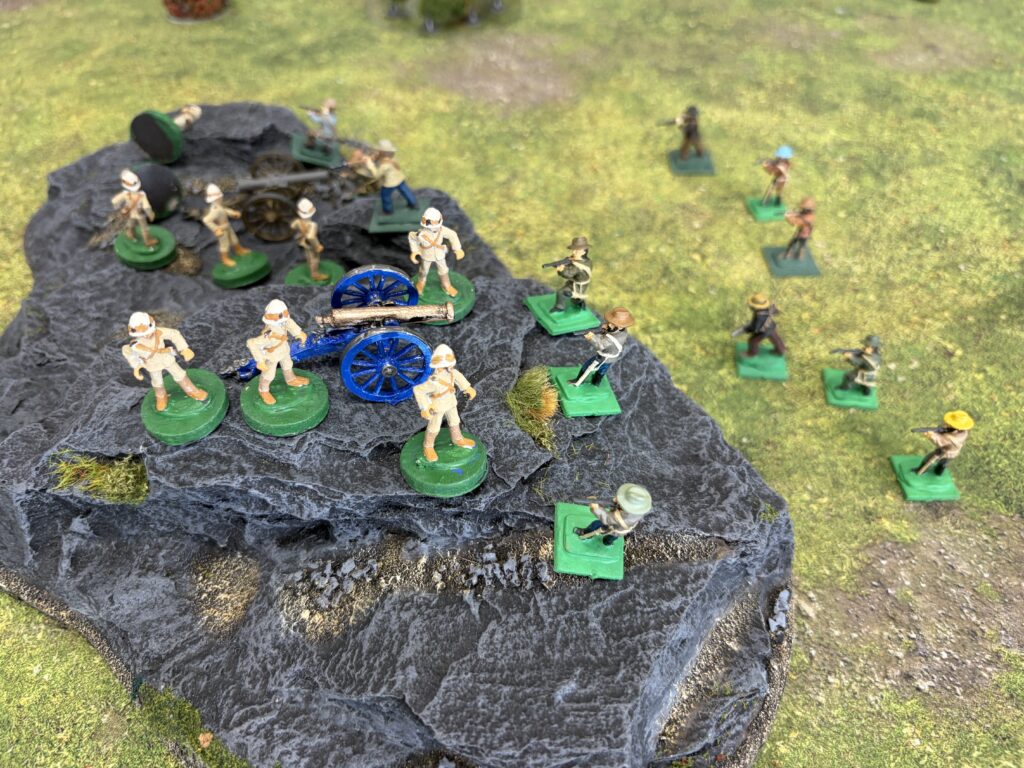
The game devolved into an almost historical outcome with the Boers eliminating the gun crews but taking heavy losses while doing so.
Thanks to Jay for the great report and pics. He spends a lot of time at the game taking notes and then later doing these write ups and they are appreciated.
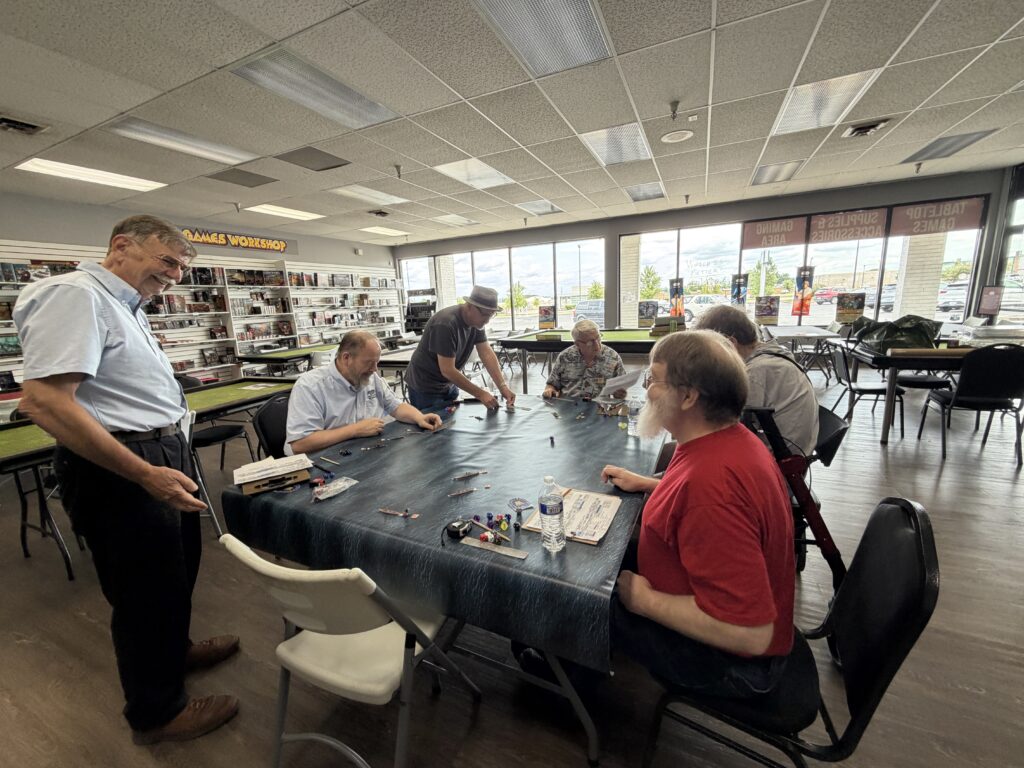
A huge thank you to everyone who came out to play, as well as to those who stopped by to visit and spend time with us. We also want to extend our sincere appreciation to the outstanding staff at Miniature Market Cave Springs for their continued support of our historical tabletop gaming community.
Be sure to check out Dispatches and The Weekly Gaming Update on this page for more information on upcoming games across the metro area.
Remember to shop local.