
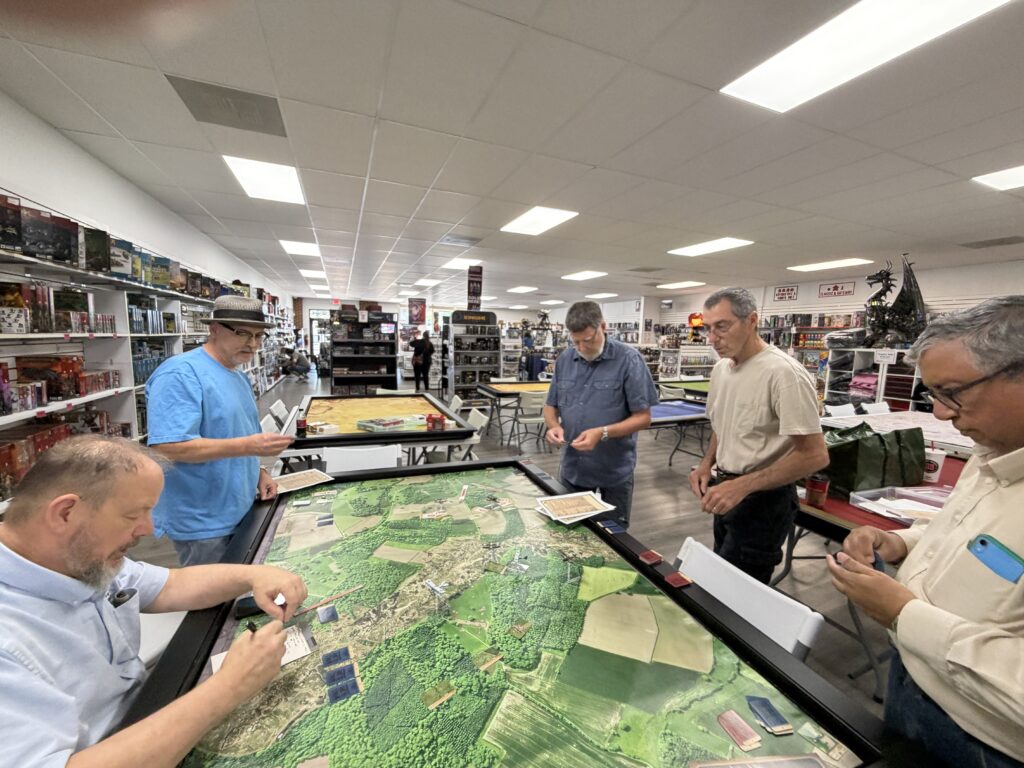
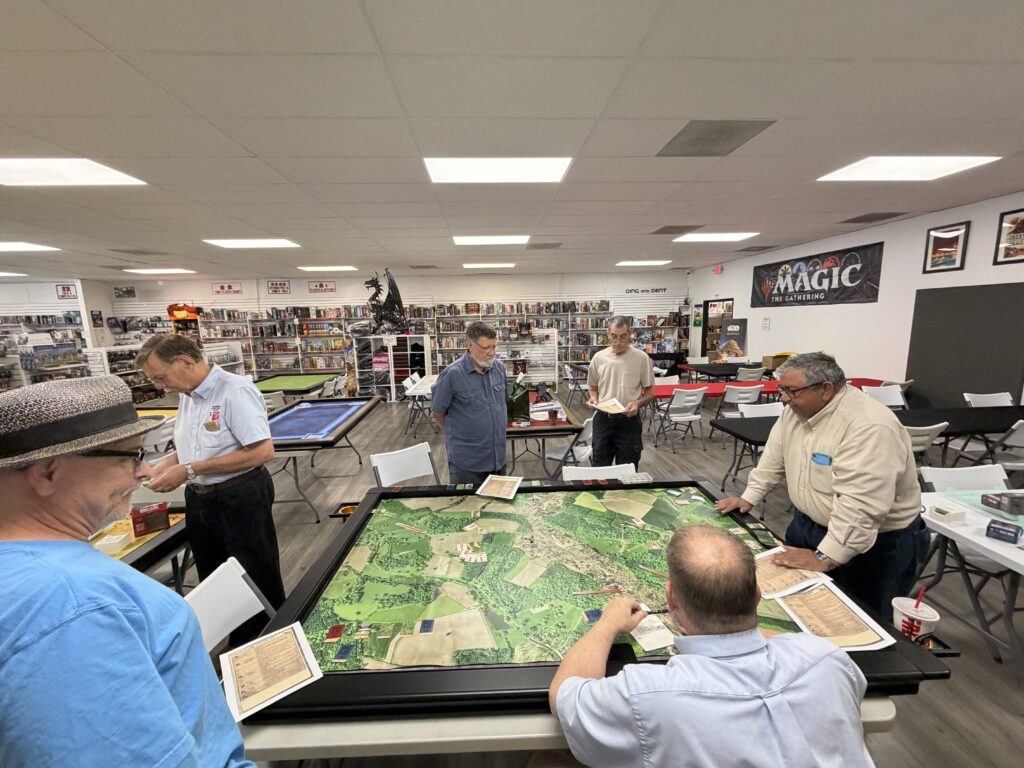
Our group gathered at Miniature Market Rock Hill for a bit of air combat over No Man’s Land during WWI using “Wings of Glory” rules and miniatures by Ares Games.
Jay Clendenny was kind enough to send in a turn by turn game report for us detailing the action of the two recon flights we were able to fly on Thursday. So we will turn the report over to him for his take on things……
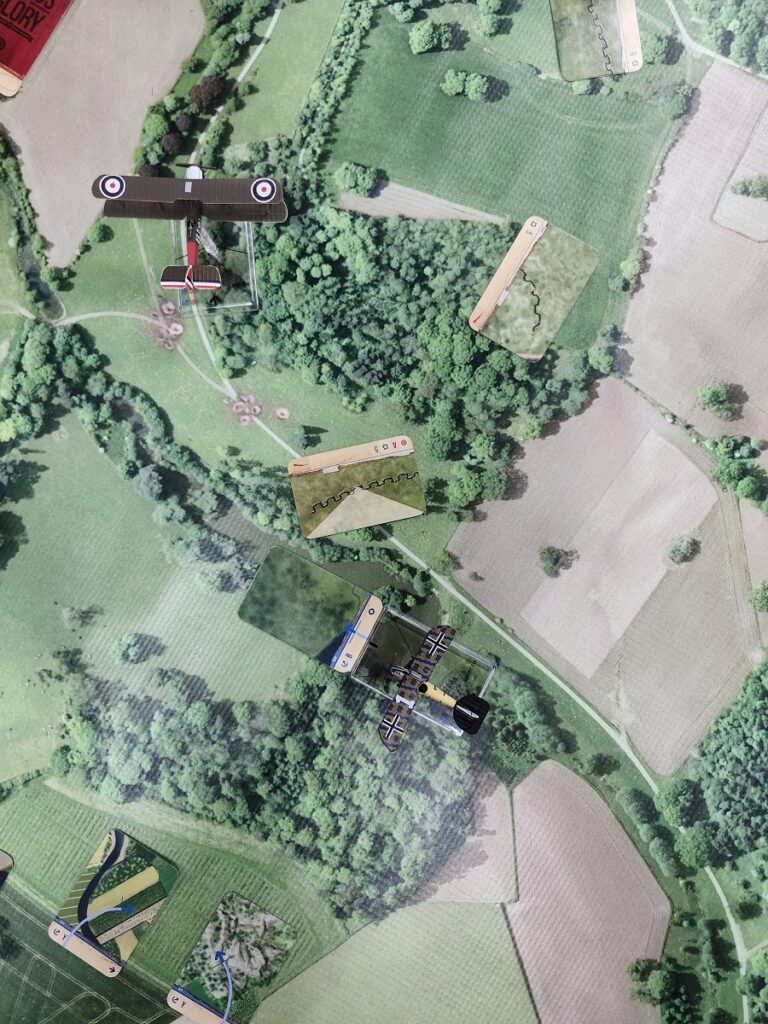
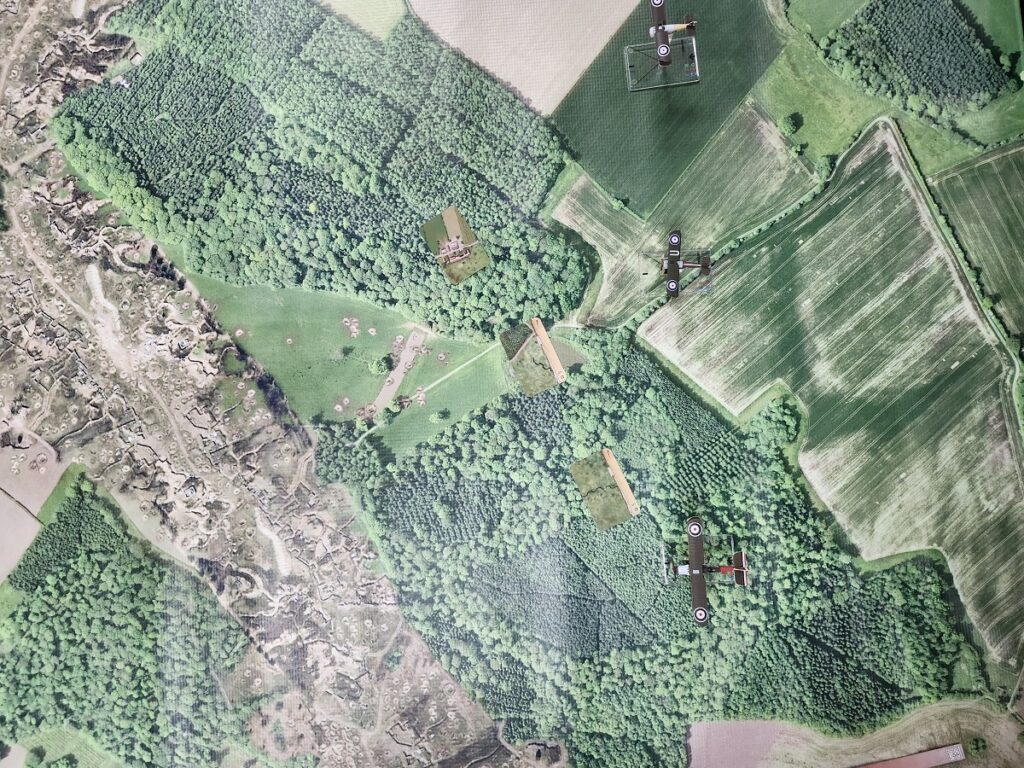
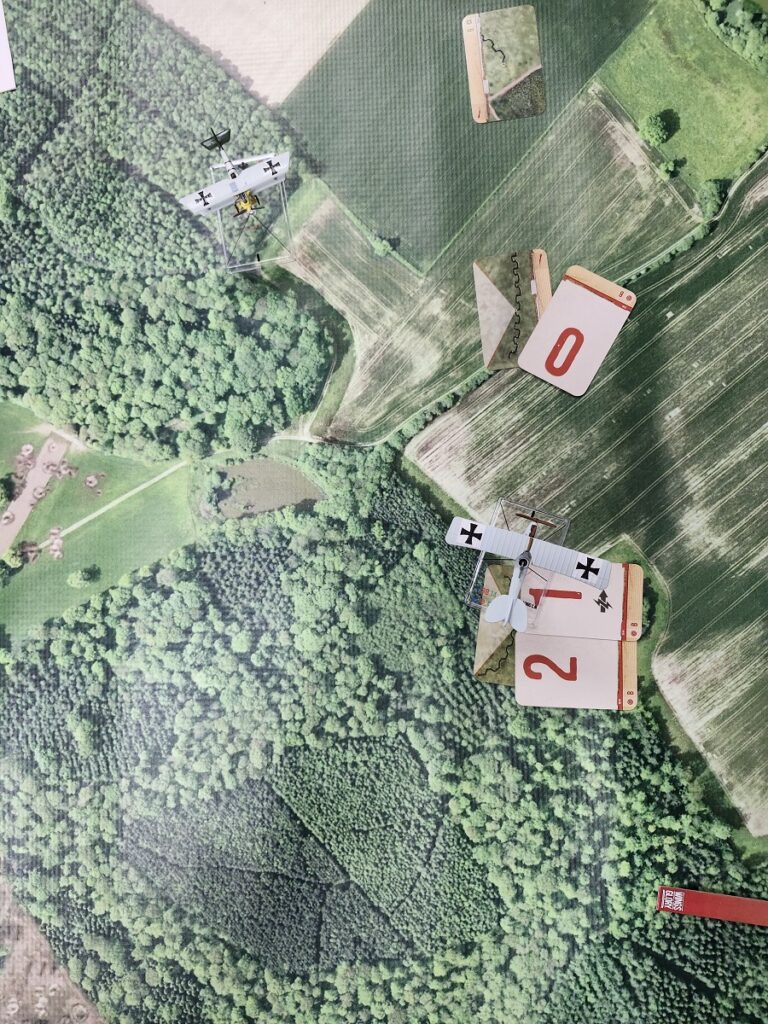
A shot from above giving us a great view of the superb looking mat prepared by Dave Schaffner which works so well for “Wings of Glory.”
“James checked to make sure the camera was secure in the back of the DH4 (Airco DH4). The squadron had yet another recon mission to perform on some reported German gun positions. There would be some escorts, but it was expected for the DH4 to get in, get pictures taken and get out as quickly as possible. James reflected that if it was worth photographing, it was going to be worth protecting, so that meant they were likely to run into German patrols. As his pilot approached, James checked everything again to make sure they were ready to go.”
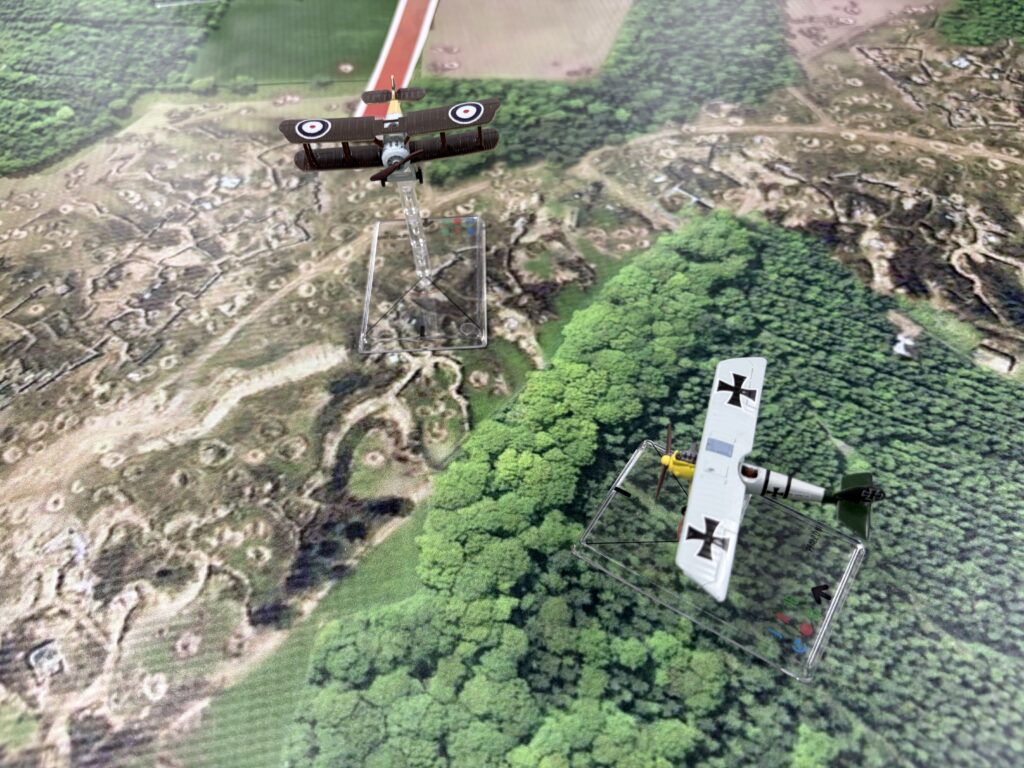
“On the menu this week for gaming was Wings of Glory, a WW1 flying game. Kevin cooked up a scenario that saw both sides attempting the same mission parameters. Not only did you have to try to scout the enemy gun positions on their side of the trench line, but you had to try to protect your gun positions from prying enemy eyes. The map we played on was a great backdrop for the game. In Wings of Glory, you get an aircraft and a manuver deck that is reflective of the planes capabilities. Depending on the plane you have, the cards will be different. In general for WW1, there are rotary powered aircraft (generally slower, but more manuverable) and “power” aircraft that are faster, but not as manuverable. Rotary planes in particular can be tricky because they generally turn better to their right than to their left. This was one of the things that made the Camel so dangerous. Each player puts 3 manuver cards face down as their movements for that turn. At the end of each card, you can see if you can fire. Damage cards are handed out based on range and firepower (A deck is more damage while B deck is less). You can get critical hits to jam rudders, guns, injure pilots, cause fires, etc.”
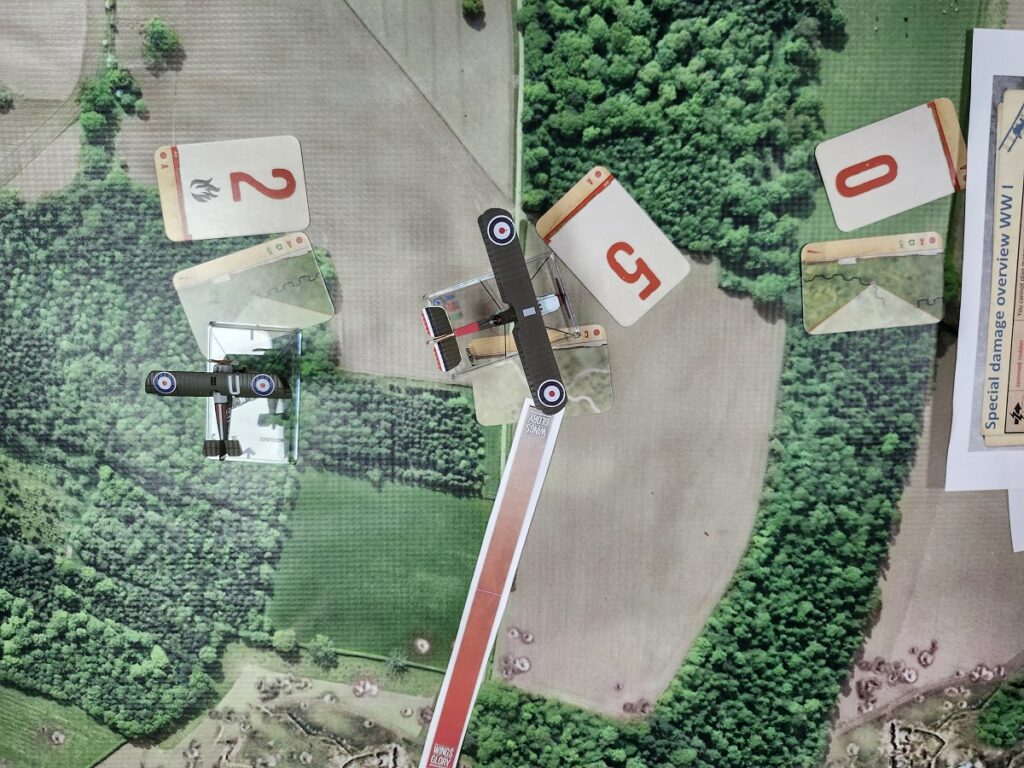
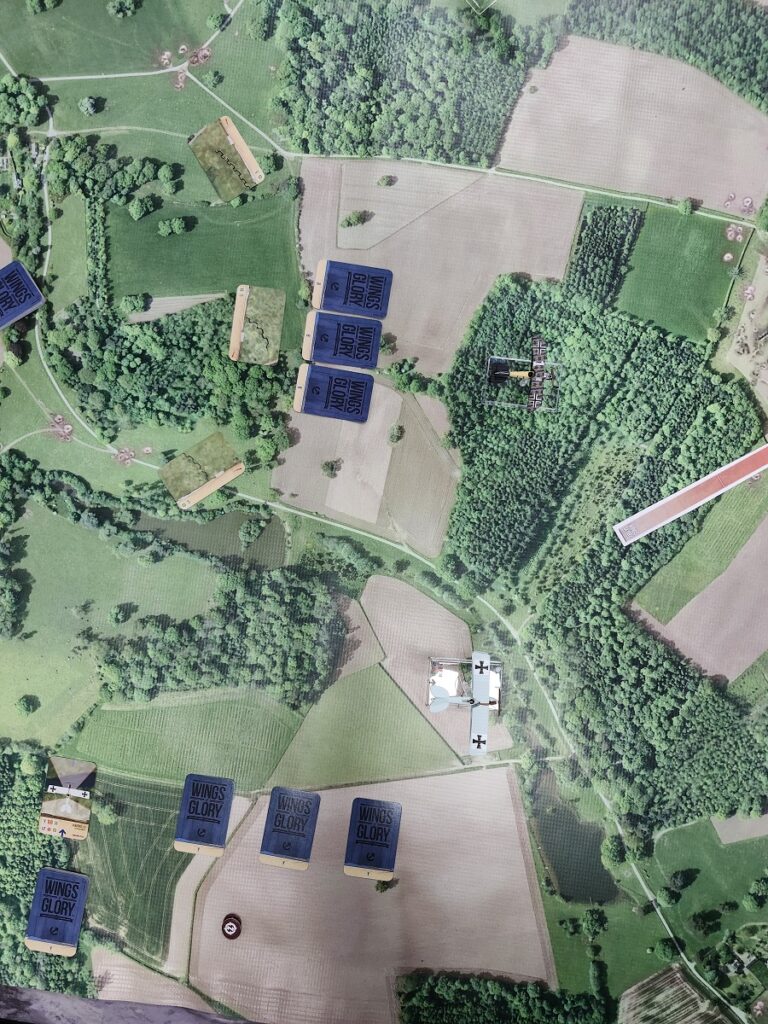
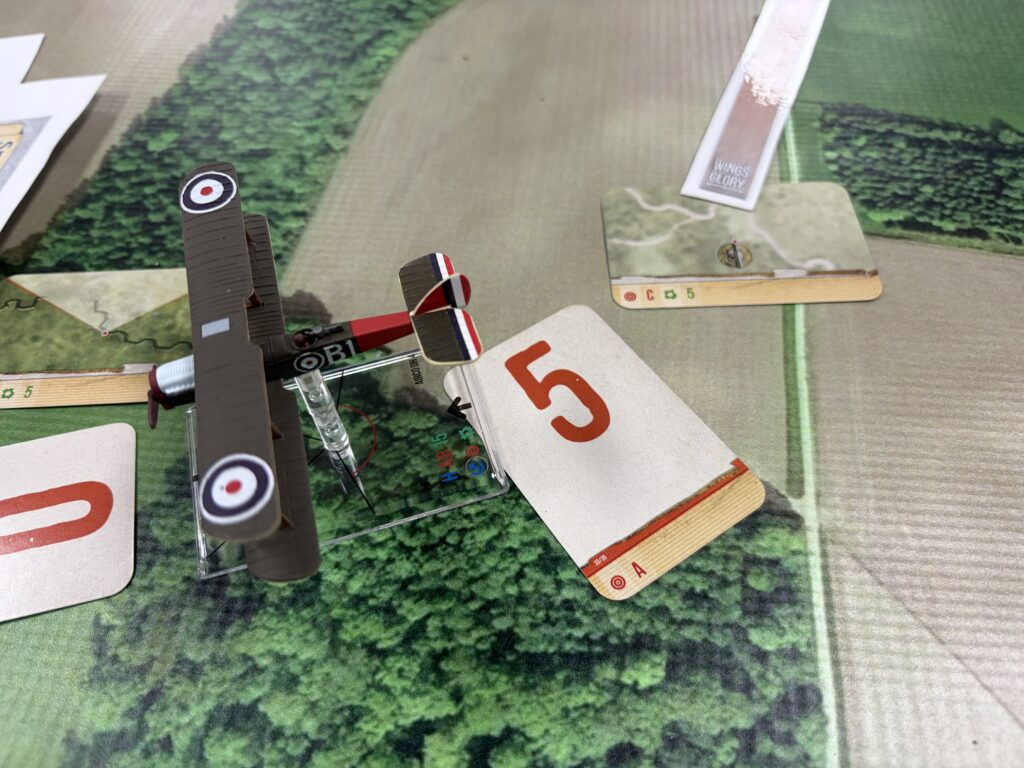
Damage cards to the various ground installations done by the aircraft strafing.
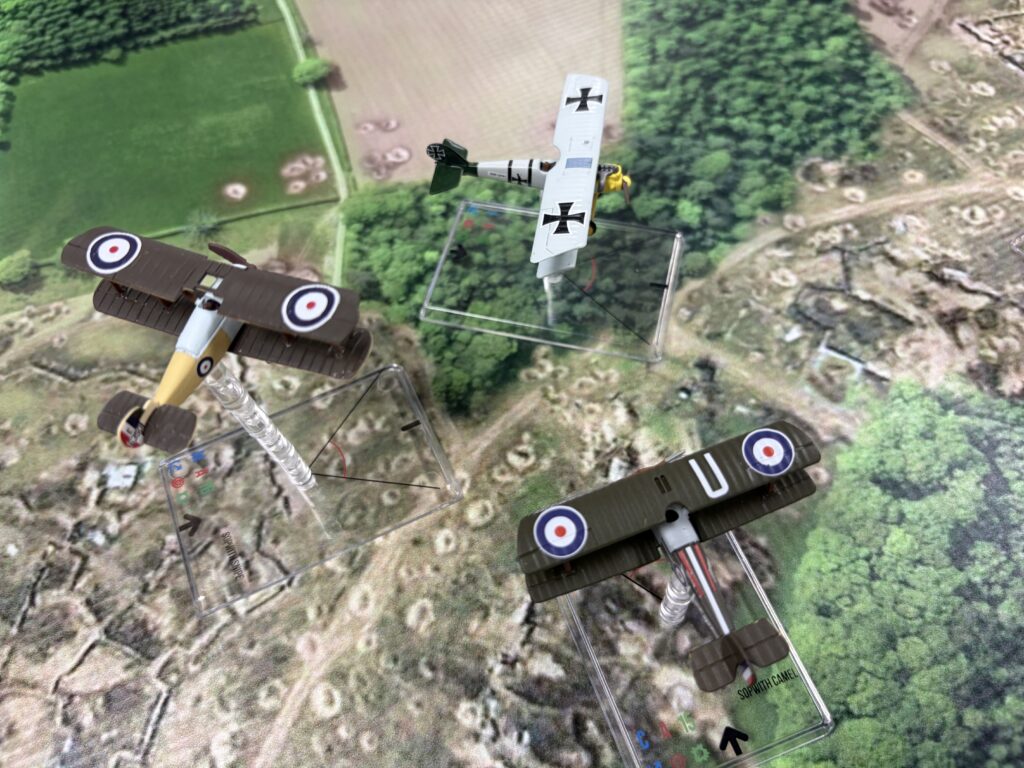
““We actually had time for two play-throughs. For the first play-through, DJ, Pat and Tim took the Germans while Kevin, Ravi, and Jay took the British. German aircraft were a Albatross C3, Rumpler C4 and a Pfalz D3. The British lineup included the Airco DH4, a Camel, and a Snipe. One advantage that became clear after the game was the Germans elected to use two recon aircraft vs the British using just one. The Germans were able to scout faster and recon planes have a rear gunner. Recon planes are generally not as fast or as manuverable as regular single seaters, but the gun in the tail helps a lot.”
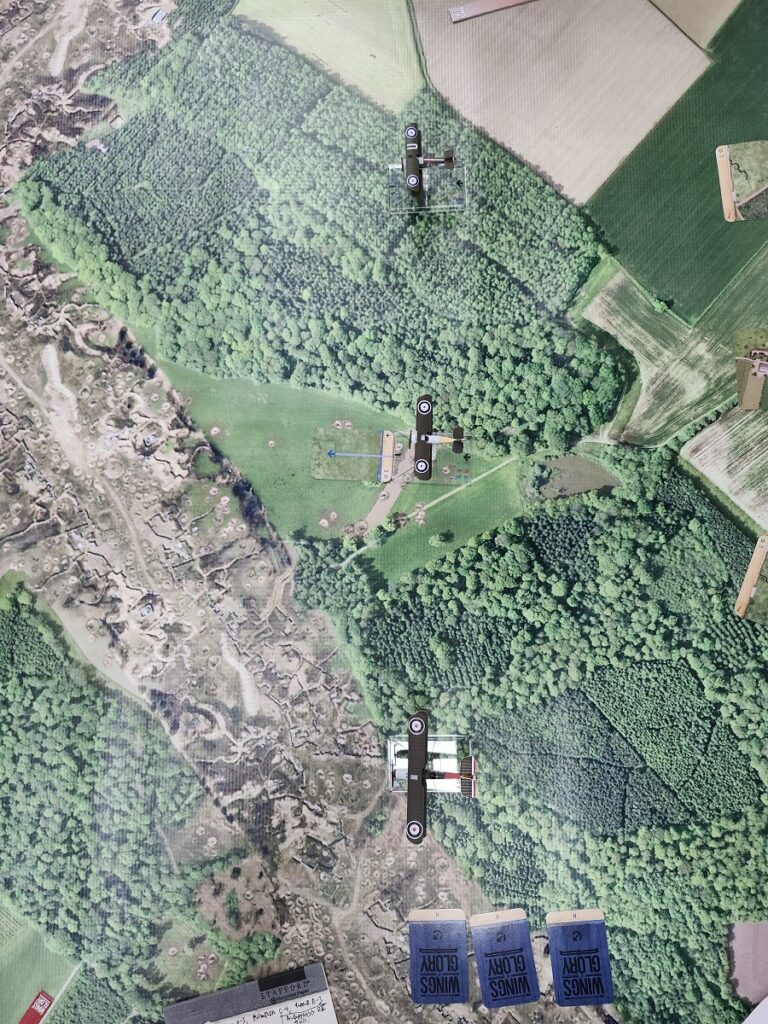
“Turn 1 Both sides approaching the trenches. “
“Turn 2 Fighting starts taking place over the trenches.”
“Turn 3 Both sides continue past the trenches headed to their recon targets. Entente manages to expose 2 AA positions. Gunfire is exchanged between the ground and the air. The Germans have a AA gun position knocked out.”
“Turn 4 The Entente manage to expose the artillery position they were looking for, however the D4 is shot down. Gunfire also takes place between the Germans and British ground positions. The British also have a ground position knocked out, but British forces manage to shoot down the German C4. The British fighters get the worst of the exchange with the German aircraft. While not shot down, they are pretty much out of it and headed back to base. We decide to call game 1 in favor of the Germans. “
“Game 2: Same mission, same aircraft except the Germans manage to recruit Mark to join them and give him a Albatross DV to play with. The other difference this time is the gun positions are not as close to the trenches, so each side must fly a bit further to get to the places they need to scout”
“Turn 1 Both sides approach the trenches.”
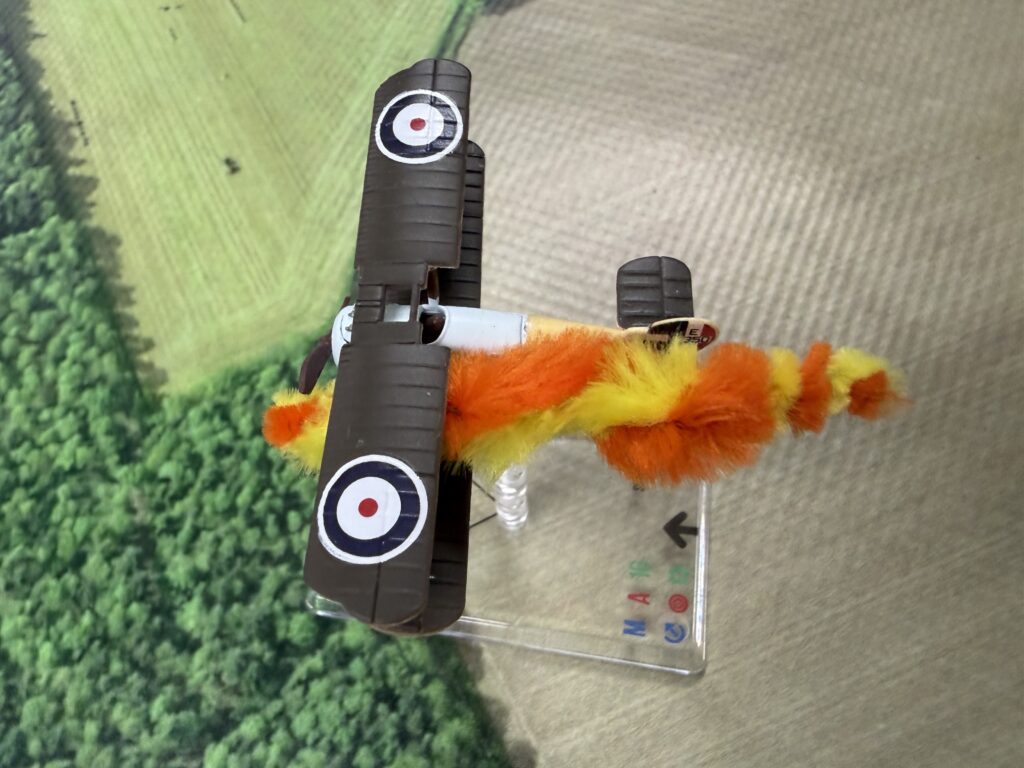
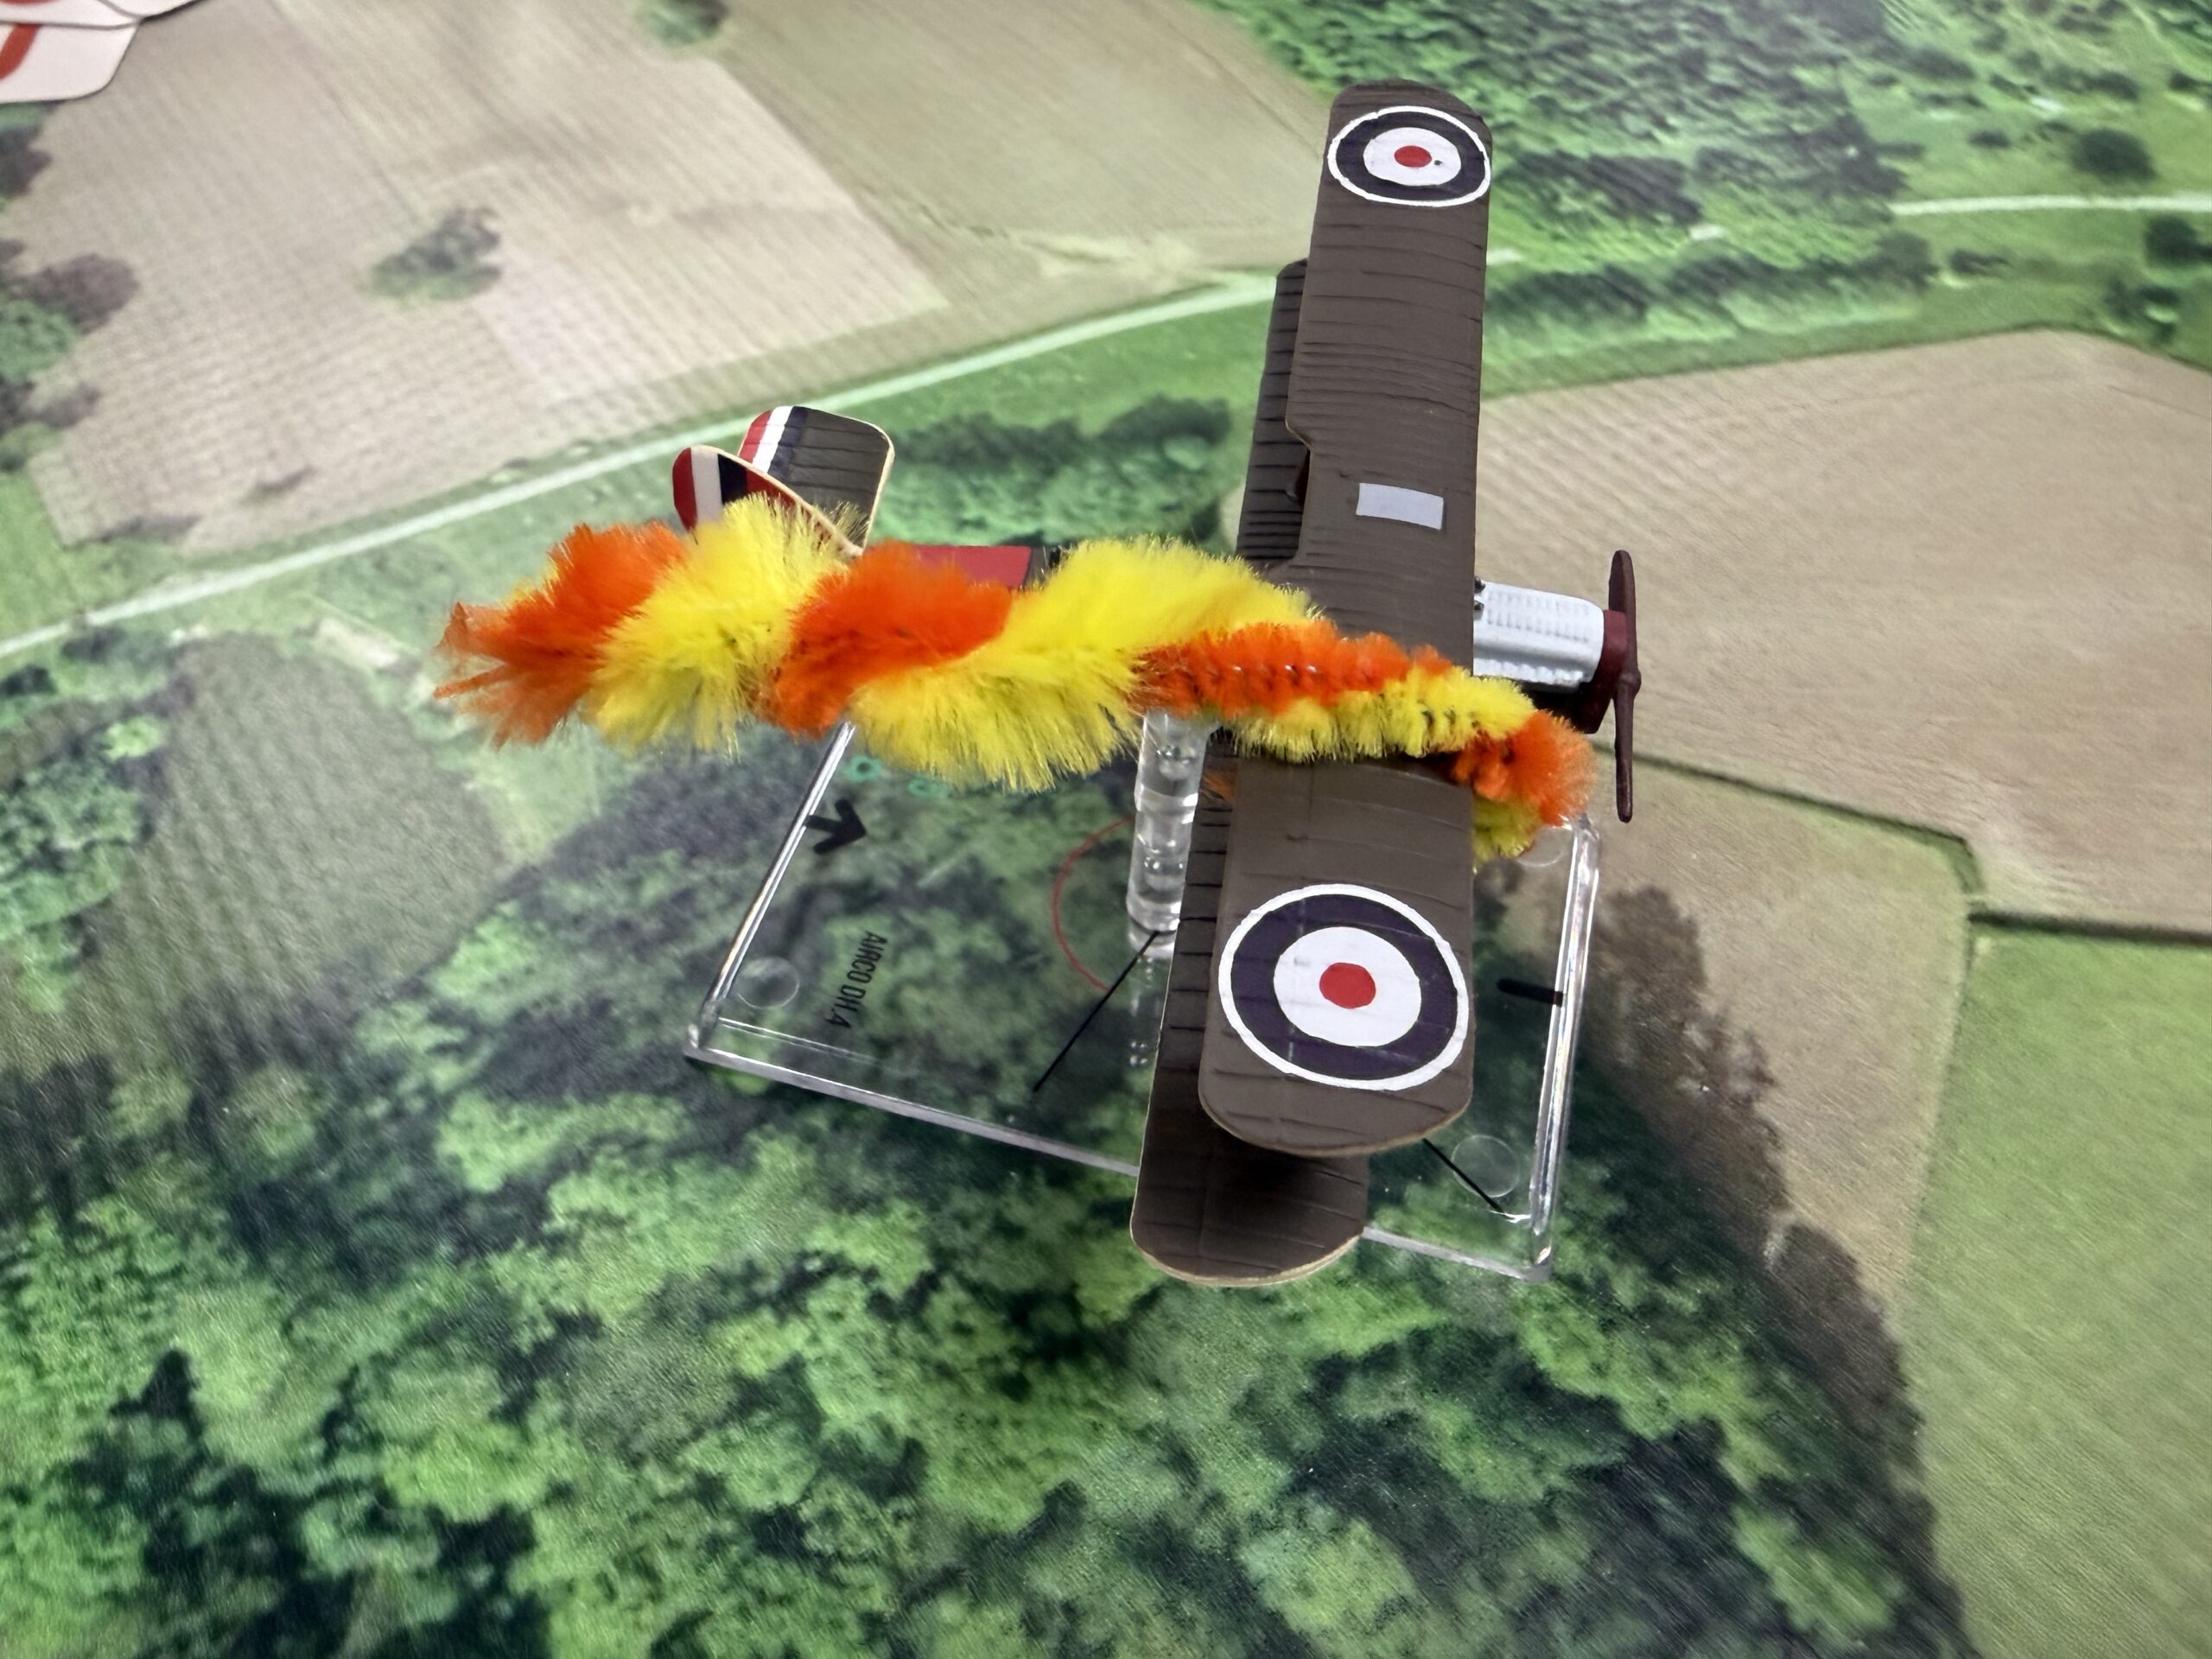
Staring the holiday BBQ early this Sopwith Camel caught fire and continued to combat the flames for the rest of the game.
“Turn 2 Both sides continue to approach the trenches and some long range fire is exchanged.”
“Turn 3 More fire is exchanged as each side pushes their recon planes through”.
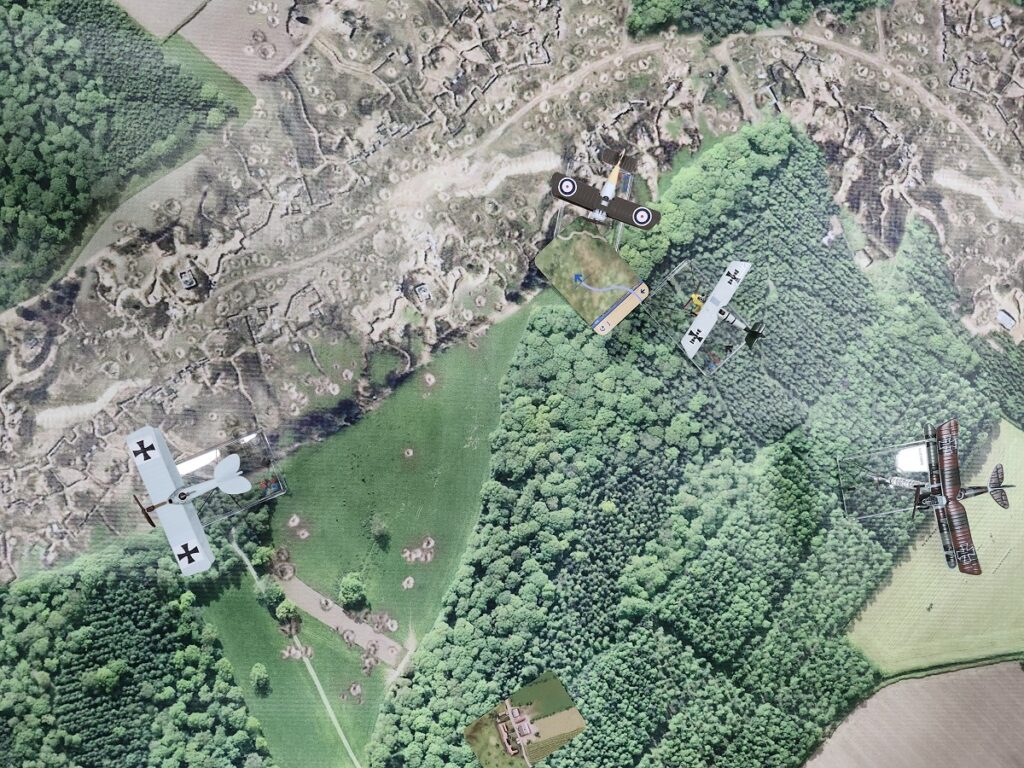
“Turn 4 A fur-ball develops over the trenches between the fighters. One of the German fighters decides to follow the British DH4, but the DH4 has a pretty good lead.”
“Turn 5 Both sides continue to move their scouts to find the gun position. The British find a AA gun position.”
“Turn 6 The Germans scout some of the British positions. The DH4 is running for its life from the DV chasing it.”
“Turn 7 The Rumpler gets shot down by ground fire. Germans scout the rest of the British positions and head back to their side of the trench line. The DH4 tries to surprise the DV by cutting across it. It largely succeeds, but gets shot at by AA while doing some more scouting. It catches fire as a result. “

“Turn 8 The remaining German planes head back to their lines. More firing goes on between the British fighters and German planes with the British getting the worst of it. At the last minute, the other German recon plane goes down just as it was about to exit.”
“Turn 9 The DH4 burns up and goes down. The Germans are declared the winners at this point although neither recon attempt worked, the British were pretty much out of planes. “.
“With that, we decided to call it a day (flying is hard work!). We discussed a few things about the scenario with Kevin and a few tweaks will likely be made by the next time we decide to head up into the wild blue yonder.”
A Thank You to Jay for his AAR and photos, A sincere thank you to the players that came out on this brutally hot St. Louis day. Our continued appreciation to Miniature Market Rock Hill and the fine folks there for their continued support of our historical table top gaming community.
Remember to shop local.


